Category:

Home

My Closet Inspiration

by Shalice Noel

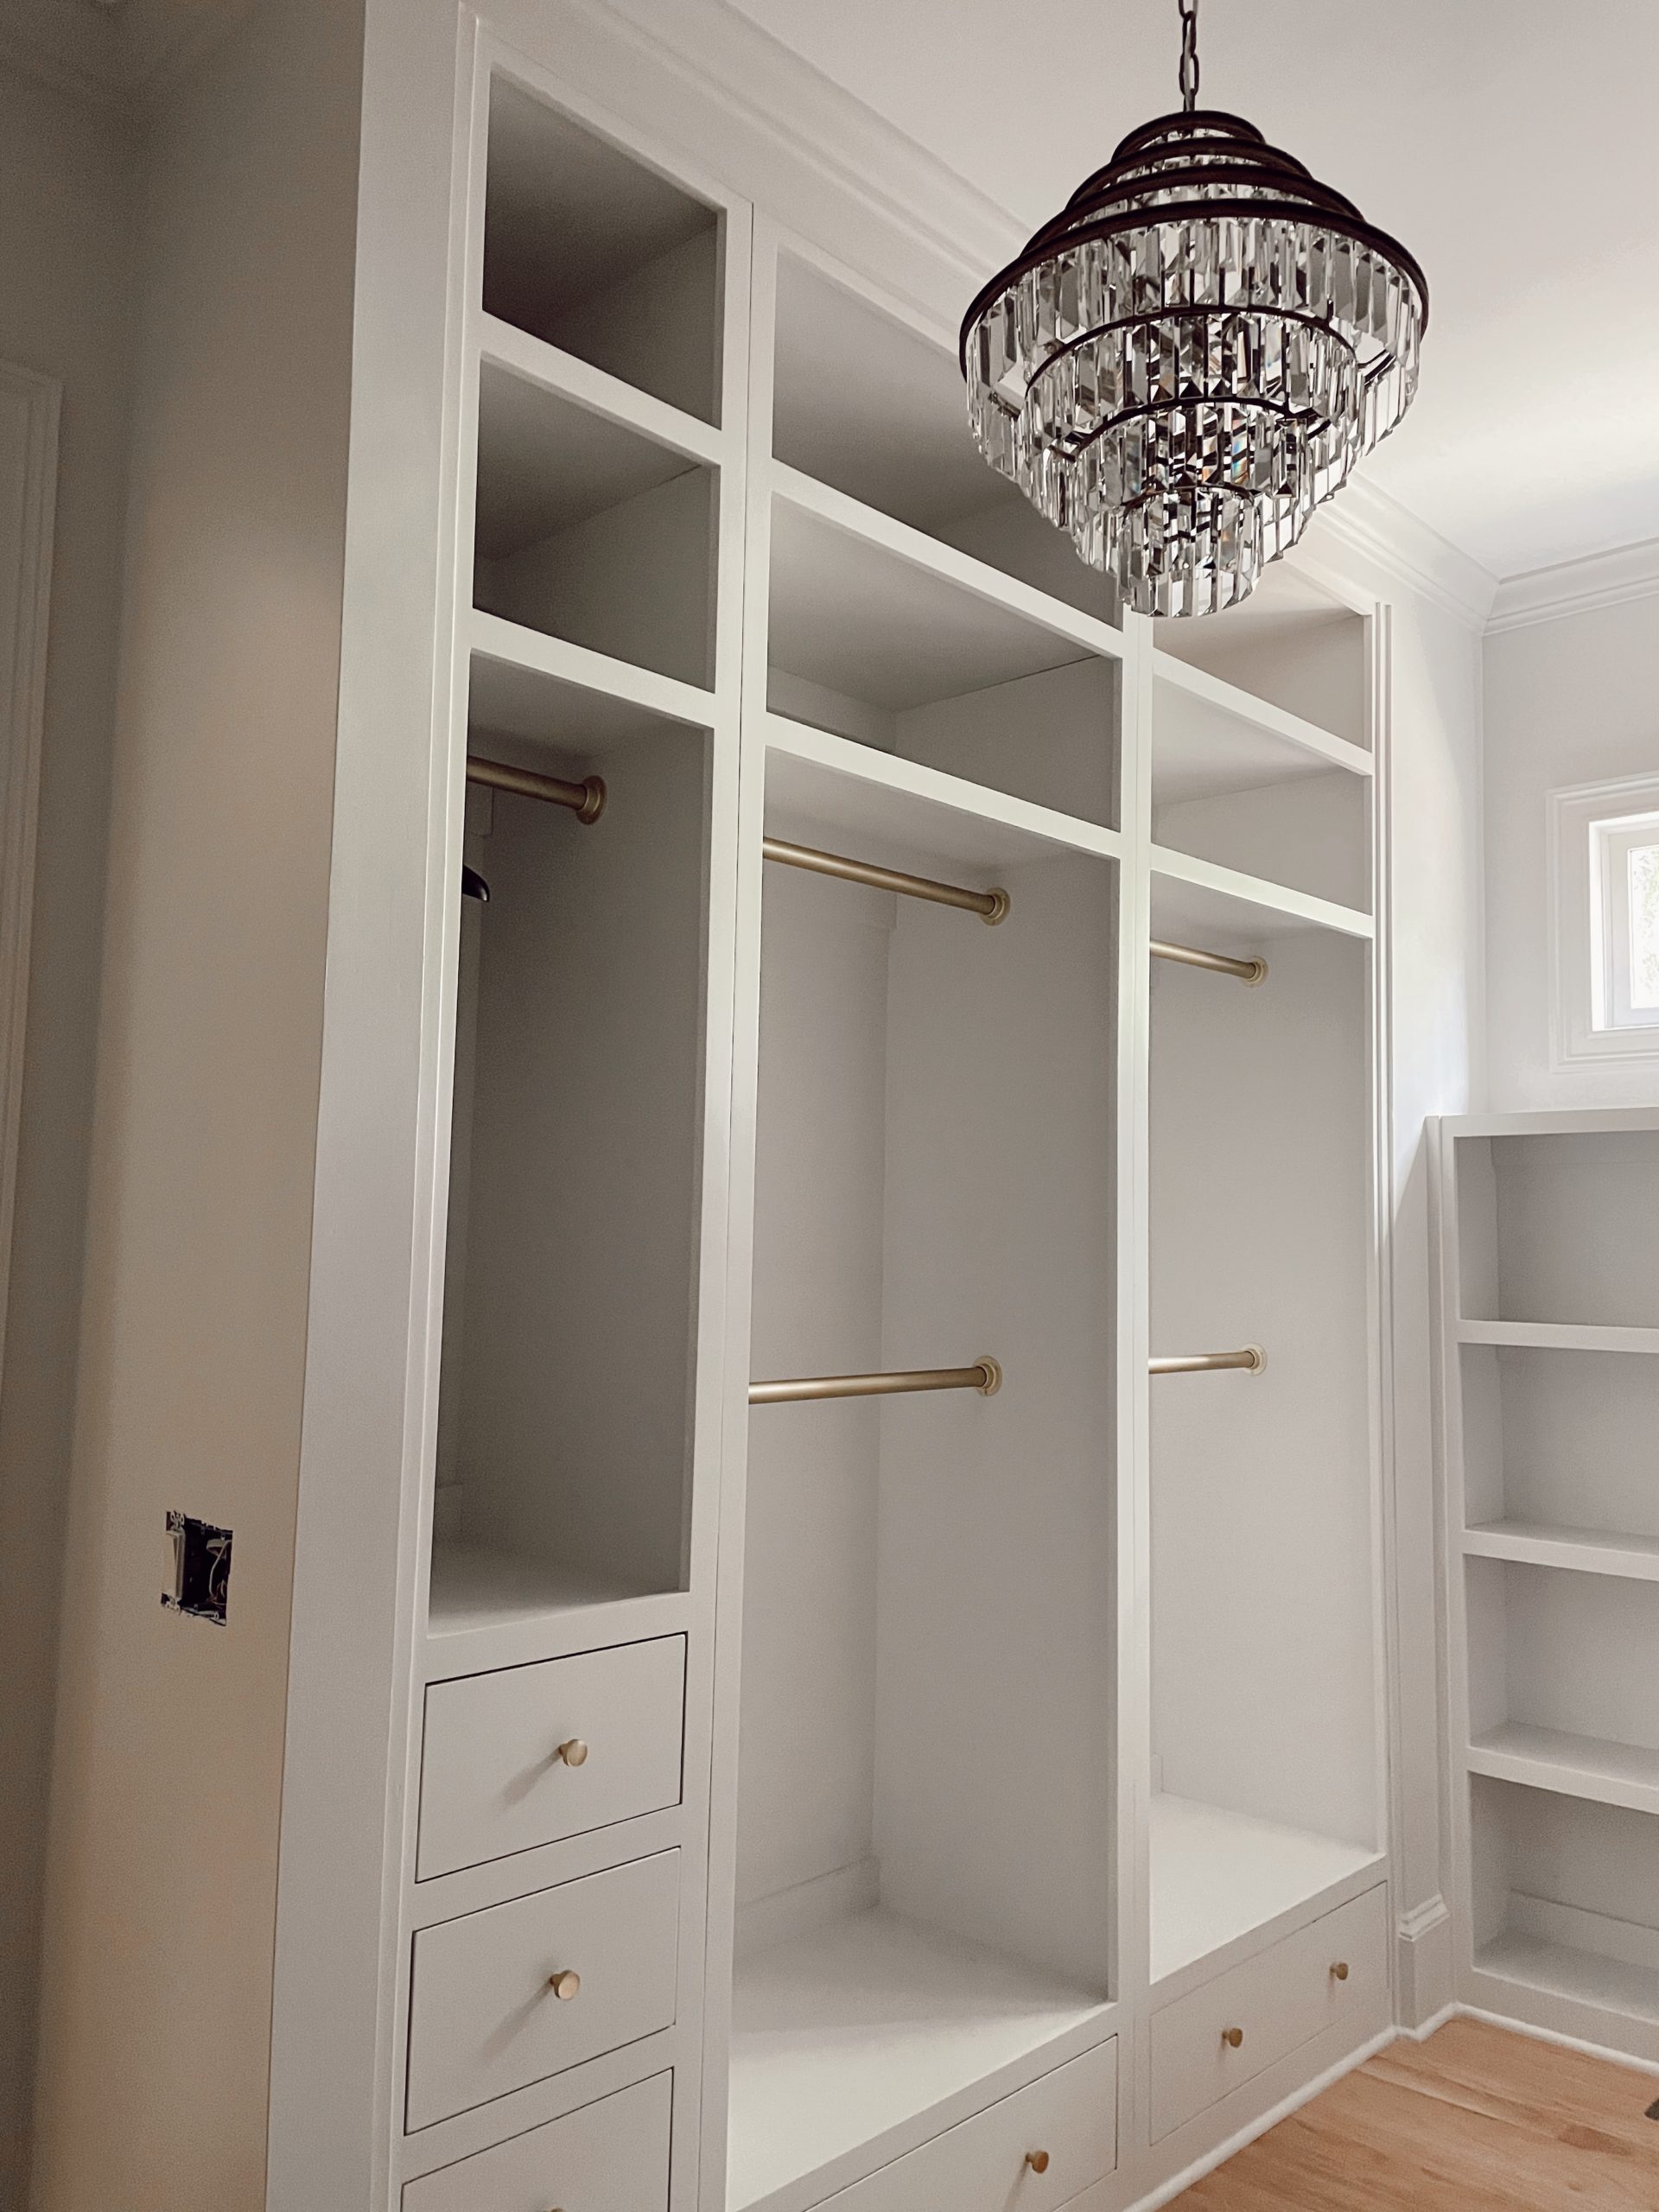
As a fashion mom, I’ve been dreaming of a walk-in closet for many years.  One of the most important upgrades we made to our big move was closet potential.  Out of 14 years of marriage and 7 houses, our homes have never had ideal closets.  In fact, you would cry if you saw the closet of our first house.  Our last home had great storage space, but the main closet was combined with the bathroom and I had to separate my clothing into multiple closets.  With this move, a big closet was a must.  Unfortunately, we compromised and still didn’t get a house with my dream closet.  Therefore, we are at the drawing board.

Have you noticed that master bedroom closets are the new kitchen?  I’ve been on inspiration overload the last couple weeks, so I will share some of my closet design research and thoughts for your future closet renovation.

For inspiration, I researched closet organization, finishes, lighting and amenities.  Can you believe closets have amenities?  Some of the research findings are like resort closets.

First, as you envision the aesthetic, think practically and quantify storage needs.  Such as, linear feet of long hangings & short hangings, drawers, purses, shoes, high boots, hats, belts, jewelry and maybe your husband’s clothes.  Also, make sure to measure the hanging length of your dresses, jeans and shirts.  Therefore, you know where you can do a double rod and where you can hang your long items.   Keep in mind the average reach height for a woman is 74” and a man is 79”.   Start with this dimension for you clothing rod height.  Then compartmentalize your closet from there.

Material inspiration is similar to any home remodel and should coordinate with the style of your home.  I found design inspiration while shopping at my favorite retail stores.  Cuyana, in LA is one of my favorites.   As you visit, take note of the finishes, lighting and how they display the clothing.  Take photos if they allow you.  Otherwise bring a pen and paper.   

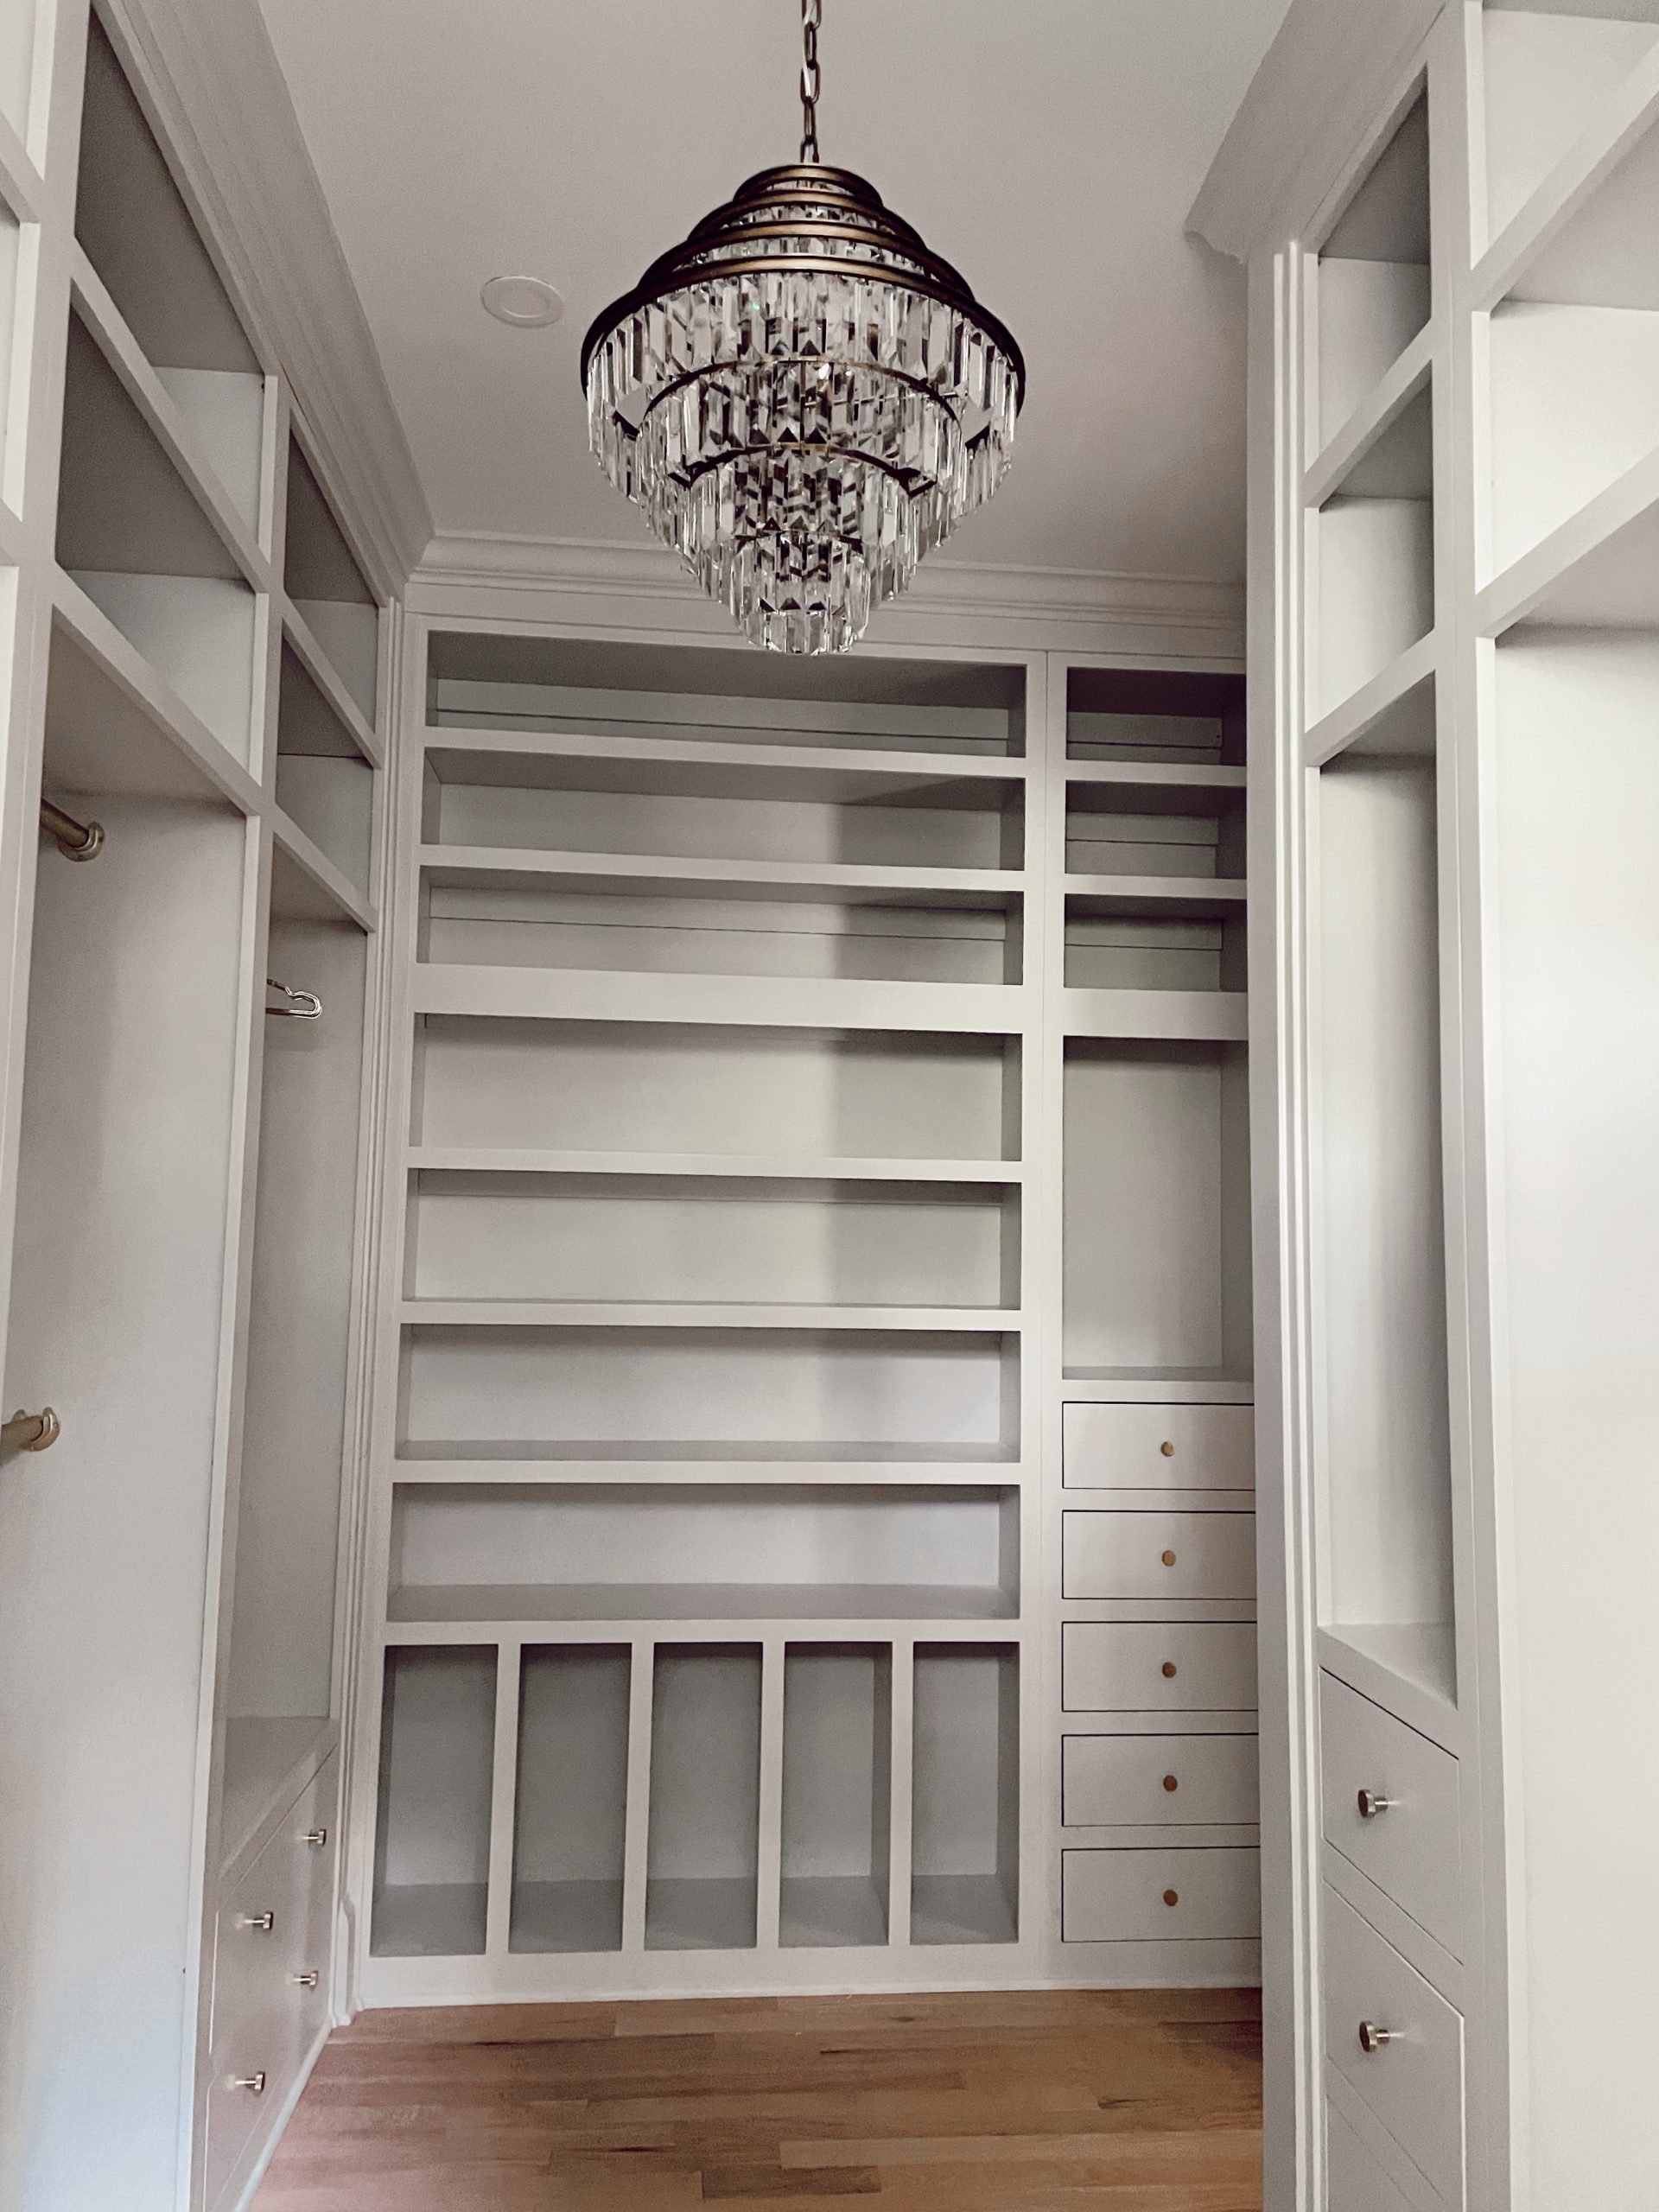
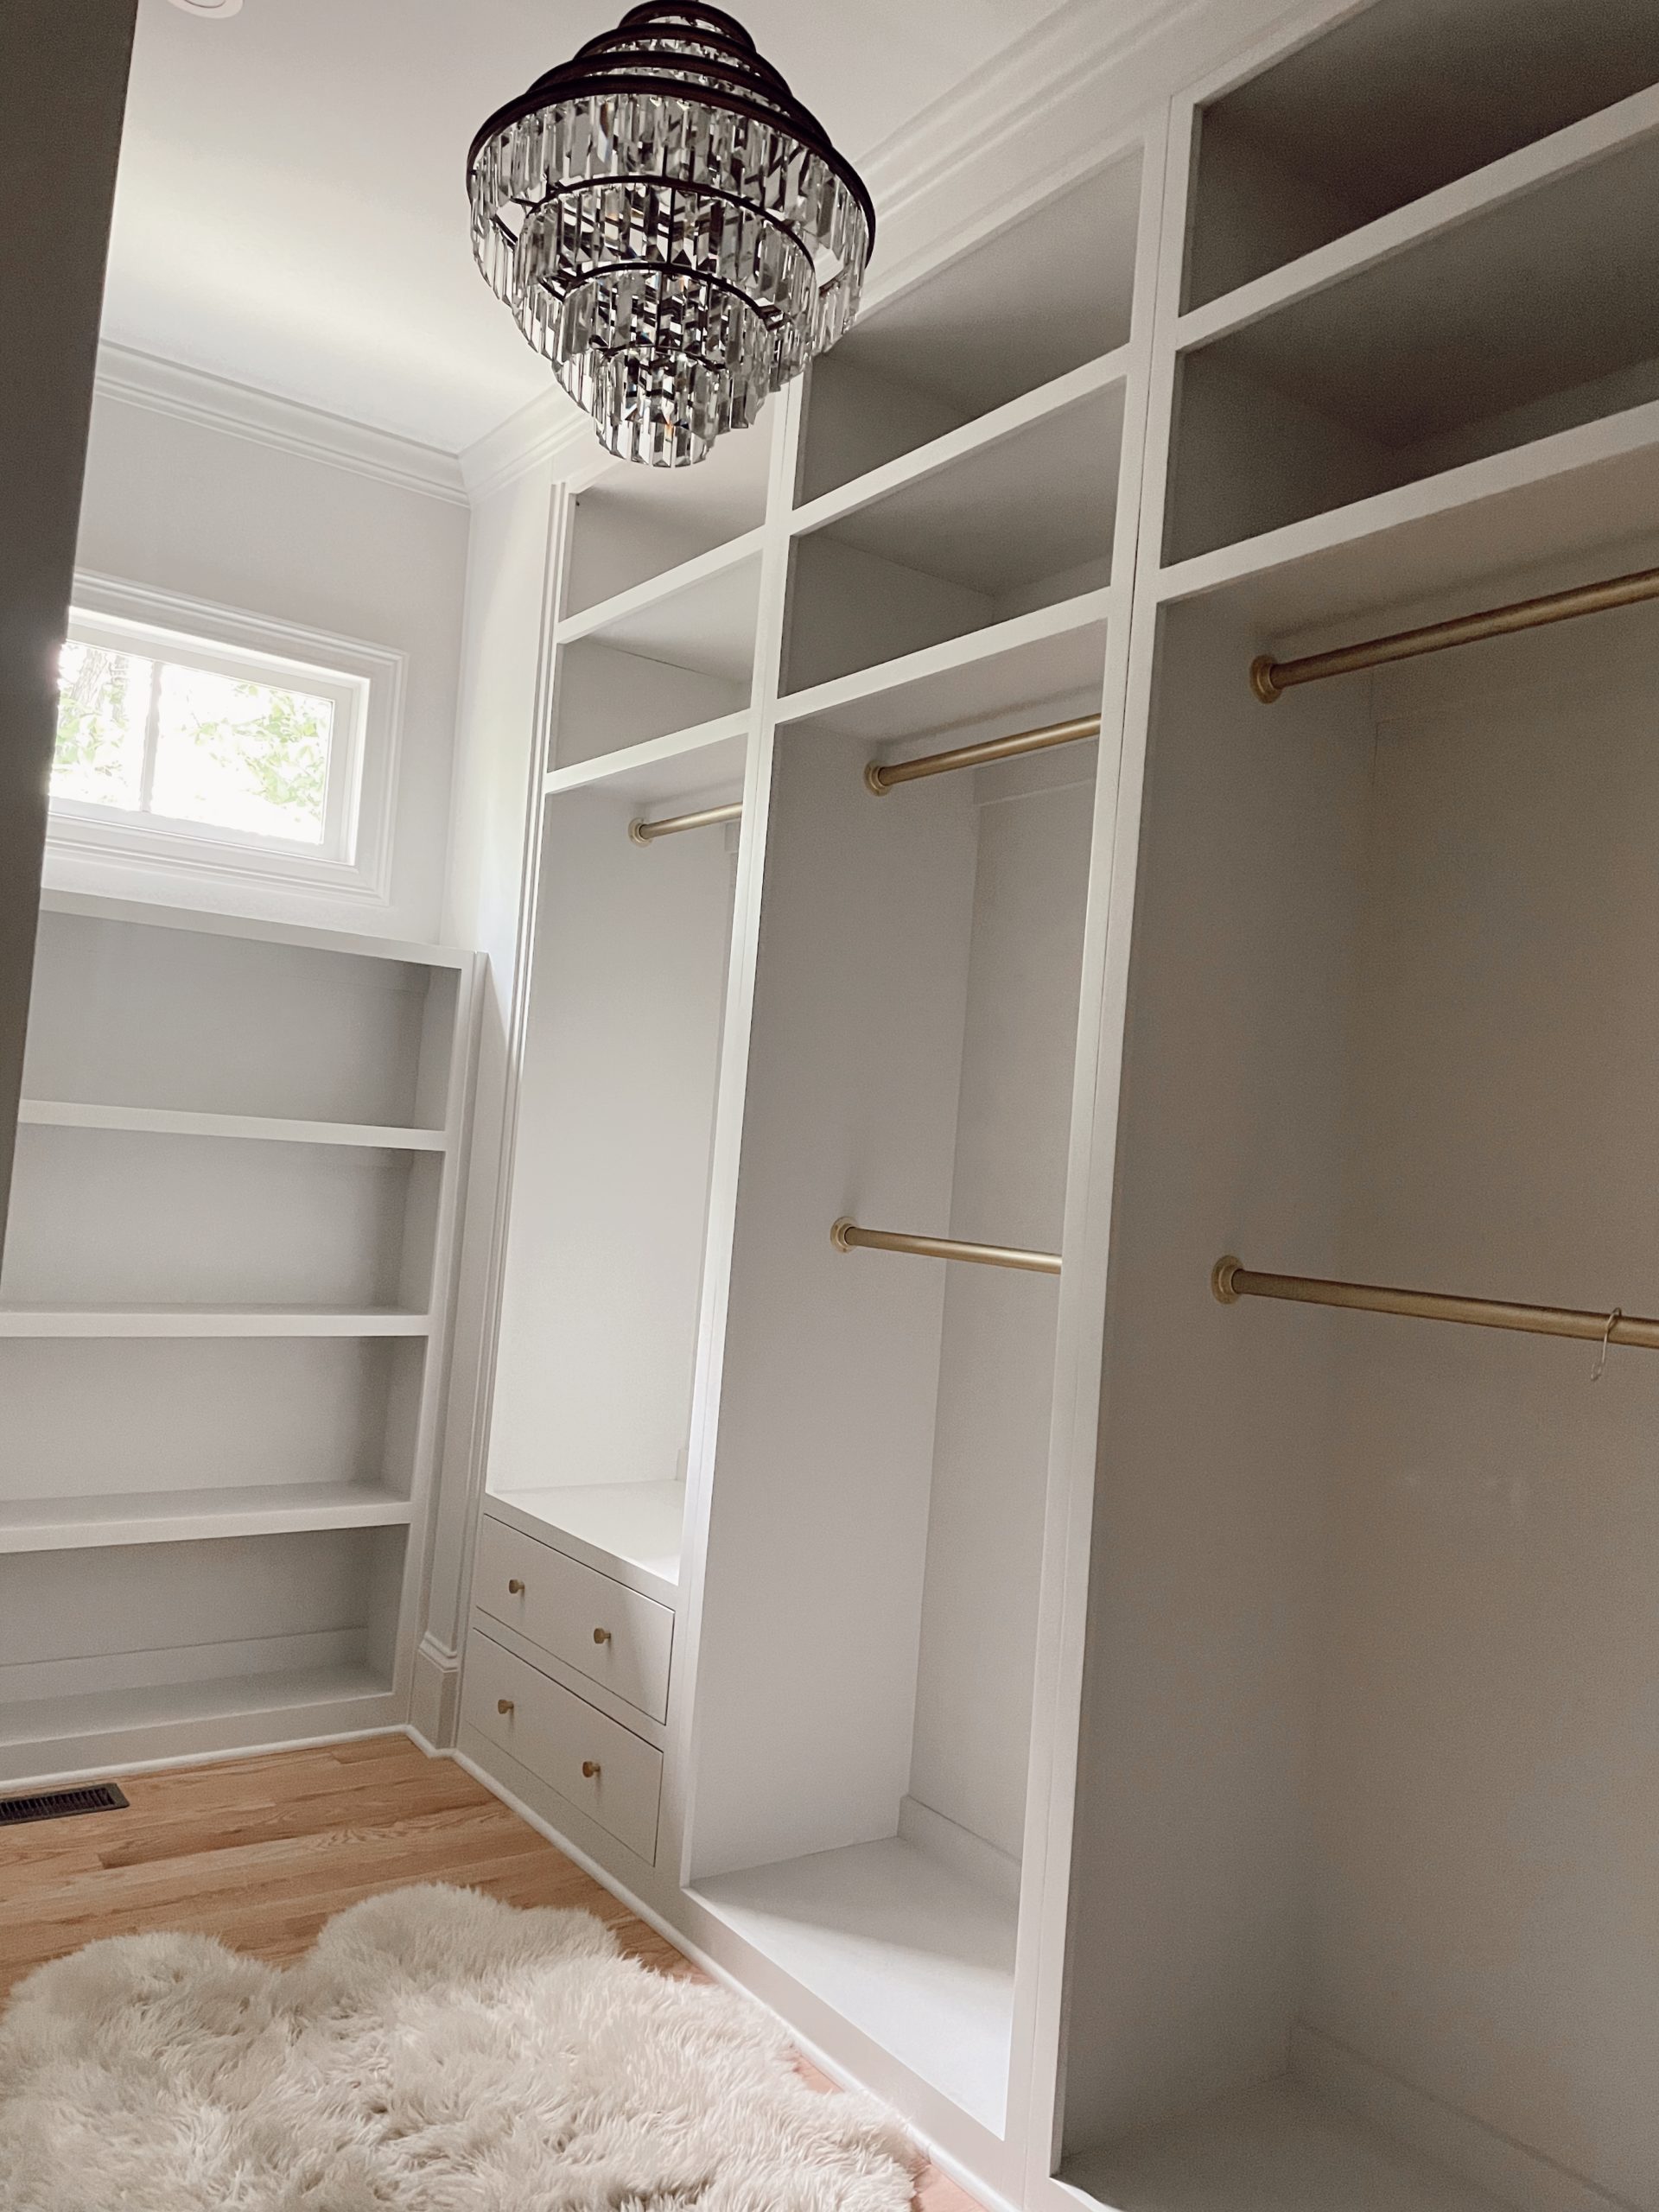
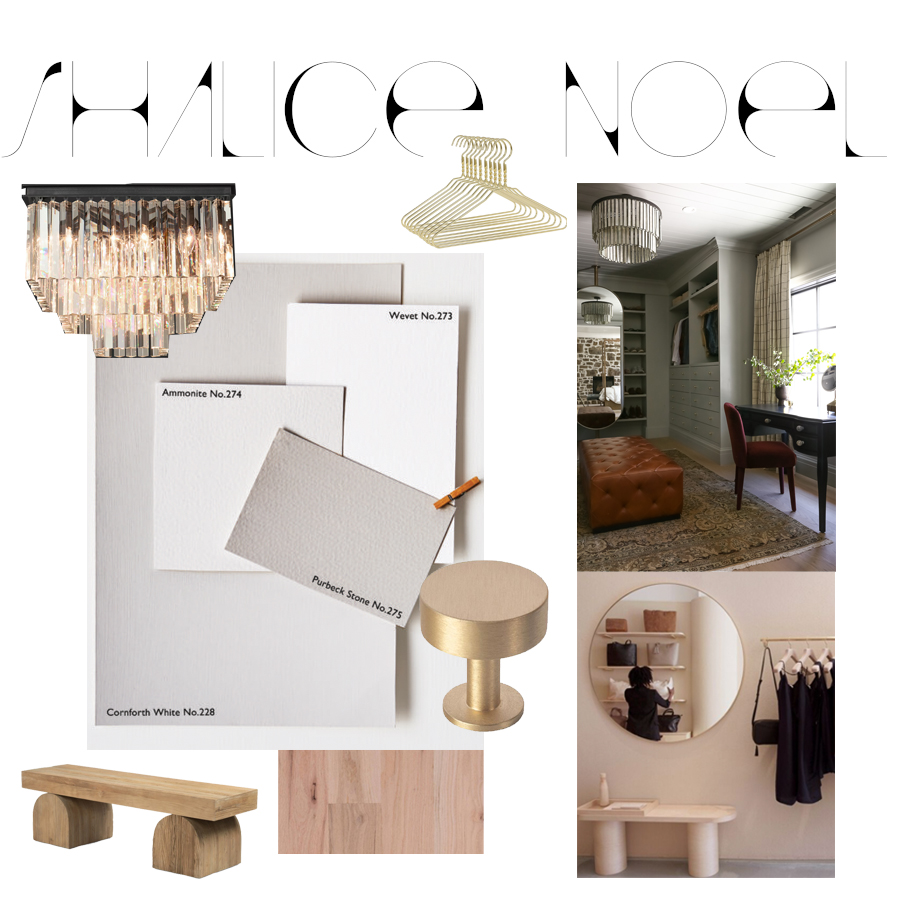
I felt inspired by this closet I found on Pinterest.  The proportion of the space was similar to ours.  I love the grey with brass accessories.  The closet feels chic and reminds me of a retail space with the pivoting mirror and shoe display.  We incorporated a similar layout for our closet however, I will be using a lighter grey with lacquer finish. 

For lighting, I want some modern femininity.  We found this chandelier at Restoration Hardware outlet and jumped on it.  I love the square shape, crystals and black iron structure.  It’s both chic and modern.  For general lighting we will be doing 4” recessed LED cans as well as LED tape lighting at the purse and shoes shelves.  I’m anxious to see it all come together.

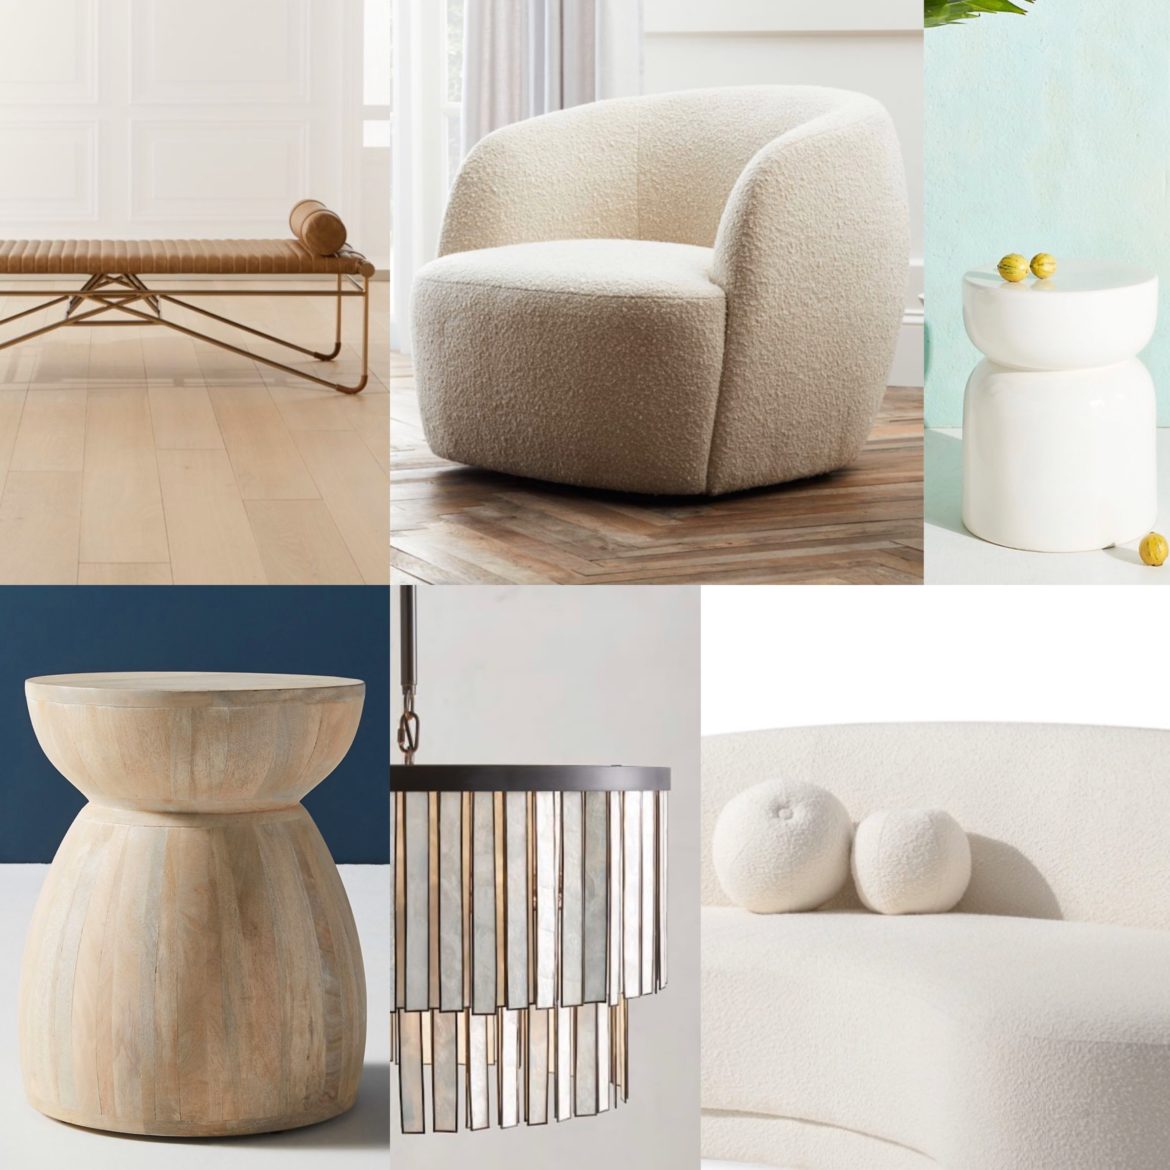
Closet amenities are ideas that you may or may not have space for.  But think creatively and see what happens.  The one amenity I really wanted was an island.  Unfortunately, our closet doesn’t have room, so as a compromise, we are going to use a bench or move our console table into the closet.  I’ll keep you posted.  I have also seen writing desk, vanities, jewelry drawers and even library ladders.  All in all, think of one thing you can do in your closet that is unexpected.

Paint: Ammonite no 274 // Light – I picked this chandelier but also liked this 24″ chandelier // Bench and this wood bench // “S” hooks I got to hang my jeans

I’ll be showing you the final closet makeover in another post.  Stay tuned.

I wanted to share some common questions I got about my closet reveal!

How did you find a contractor so fast?

Ask your realtor! I told our realtor right away the closet won’t work. LOL. So he suggested we get a quote from a contractor he recommended before we closed on the house. So, I had an idea of scope of work, pricing and timing. Although with every renovation, it takes longer than you think.

Are those inset cabinets?

Yes! Good eye. They are inset cabinets. The cost was more, but it has a more custom look.

Which knobs are you going with? I’m just curious, lol.

Rejuvenation has them! They’re brass with ridges.

Where are the gold brass rods from?

Our contractor got them at Richelieu Atlanta

Would it look weird with black hangers, which color hanger?

I got gold ones!

Ok, this may be a private question, but how much did it cost?

At first, we were were quoted 11,000 to do the renovation including demolishing the wall in the middle of the room. But after we did the inset cabinets, and some random upgrades, we ended up spending 15,000.
We made it to Georgia and so happy to finally unpack and settle. We found it is easier said than done and taking one day at a time. Still searching for my Dyson Air wrap . . . Scroll below to see what I wrote on finding your home soul.

Finding Your House Soul

Reid and I love change and that’s one reason we move a lot.  All of our homes have had character just screaming to be unleashed.  However, we don’t want to move again!  Now that we are in the new house, we need some time to discover the style of the house.  Just like your individual style sense I believe your house has a sense as well.  The fun part is discovering what it wants to be and bring your home interior to its highest potential.

Ok.  I sound a little weird.  But here is the practical advice.  Try to keep the bones of your house intact.  One, it saves you a ton of money.  (More money for shoes.)   Two, every house was designed by someone and for a reason, even cookie cutter houses.  Yes, there are some badly designed houses and yes you can still fix those things.  But it will cost you or it could even bring on amazing solutions.  Three, every house has potential, you just need to find it.

When we first looked at our house, we wanted the white on white aesthetic we are use to in California.  We asked for painting quotes thinking we’d paint everything.  But as we lived in the space for the first week, the existing colors grew on us.  We realized we like the cream on white now, plus we saved 20K in repainting!  The lesson is prudence wins.  Wait and live in the space before you do something costly.  I know it’s easier to paint before your move-in, deal with the hassle and be confident in you design choices.

How do you discover your home’s natural style?  Think of the time period when the house was built.  What trends were popular at that time?  Lessons learned; all trends come back.  Take those outdated trends as your advantage and appreciate it, no matter the decade.  How can you work with it?  How can you express it better?  Juxtapositions are the best way to express an outdated trend with todays style.  So pair old wood paneling with a curved modern sofa.  Pair big chunky moldings with slim black iron chairs.  FYI, shiplap will be out soon, at least that is my own opinion.

Outdoor Firepit Essentials

by Shalice Noel

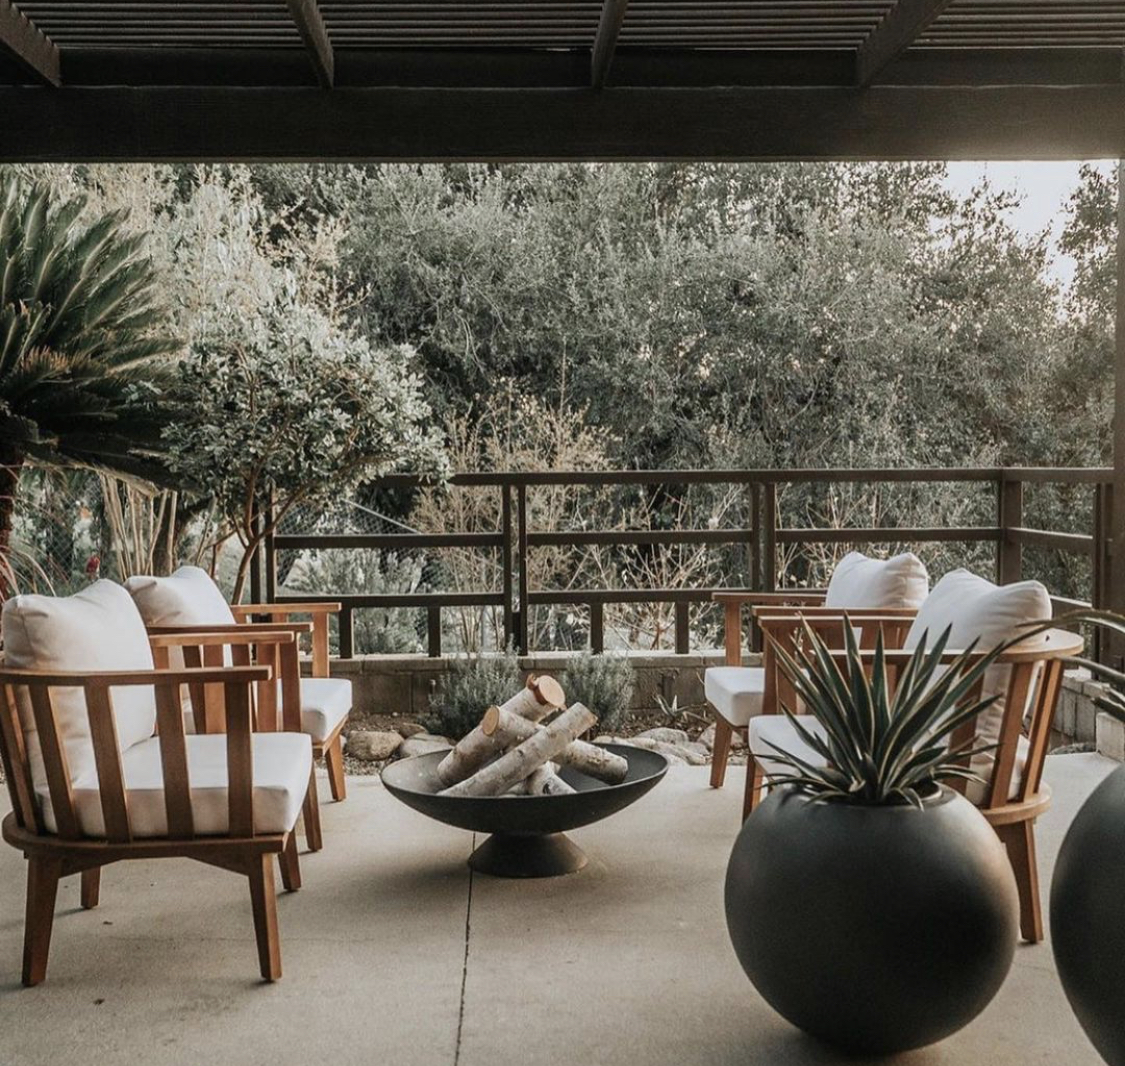
With the short days and long cold nights we have a rekindled joy for our fire pit.  We turn off devices and screens.  Fill our mugs with hot chocolate and grab a warm blanket.  With the fire crackling we curl up together and talk.  Yes.  Just talk.  So simply right!  We’ve found the time really special and now the kids want to do a fire every night.  (Unfortunately, we need to restock our wood)

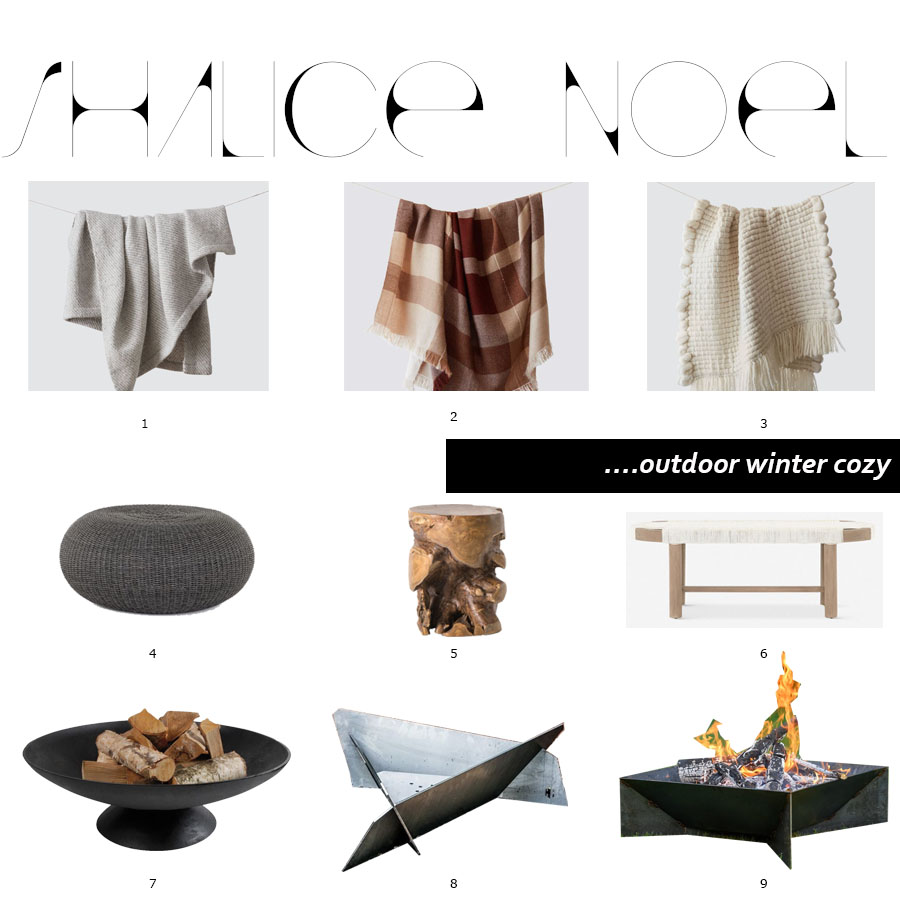
I’ve linked a few cozy fire pit picks for your cool outdoor nights.    I like the modern geometric shapes juxtaposed with the rustic alpaca throws and rugged wooden trunk stool.  Which one is your favorite?  Mix and match as you please, but I did put some thought into the pairings.

Here’s a fire pit tip from Reid.  We use a quick start fire starter to get the fire going strong.  

Our firepit // Steel Fire Pit // Modern Metal Bowl // Tera Stool // Throw blanket // Chunky wool throw // Alpaca throw // Round Planters // Indoor/Outdoor Bench // Indoor/Outdoor Coffee Table

Our firepit linked here

I’m almost afraid of installing blackout shades. There’s a probability I may never wake up!! LOL.

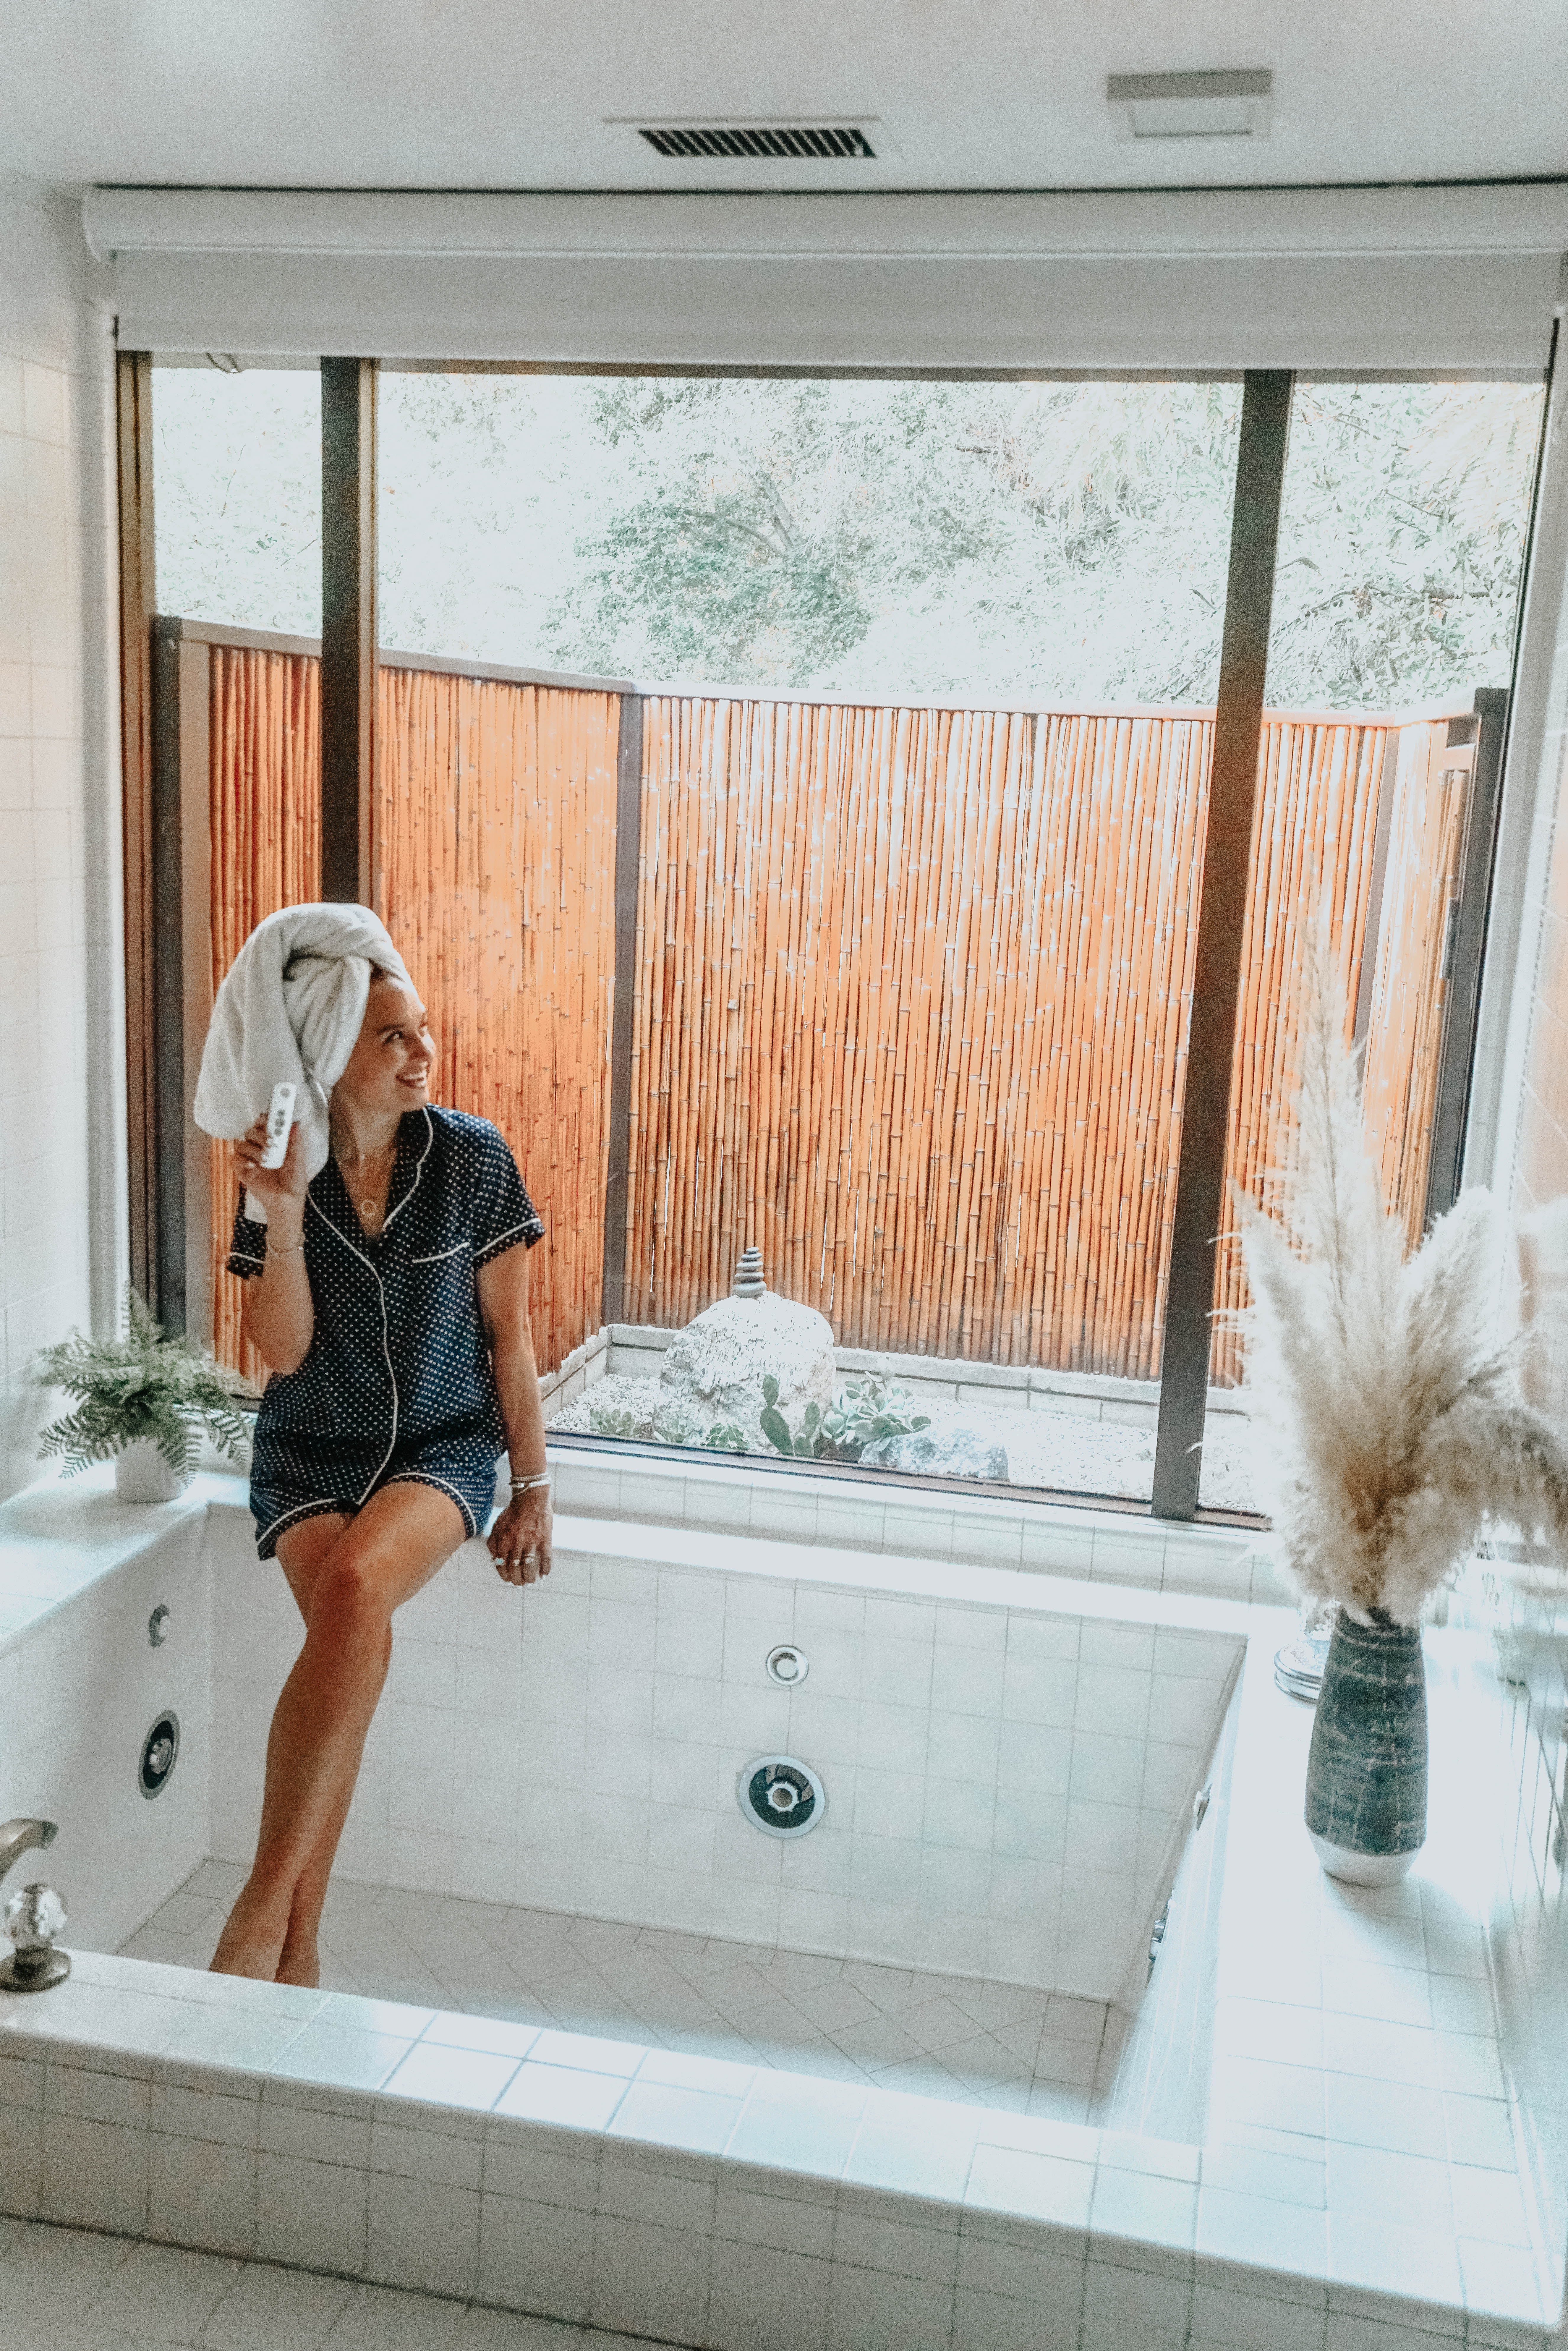
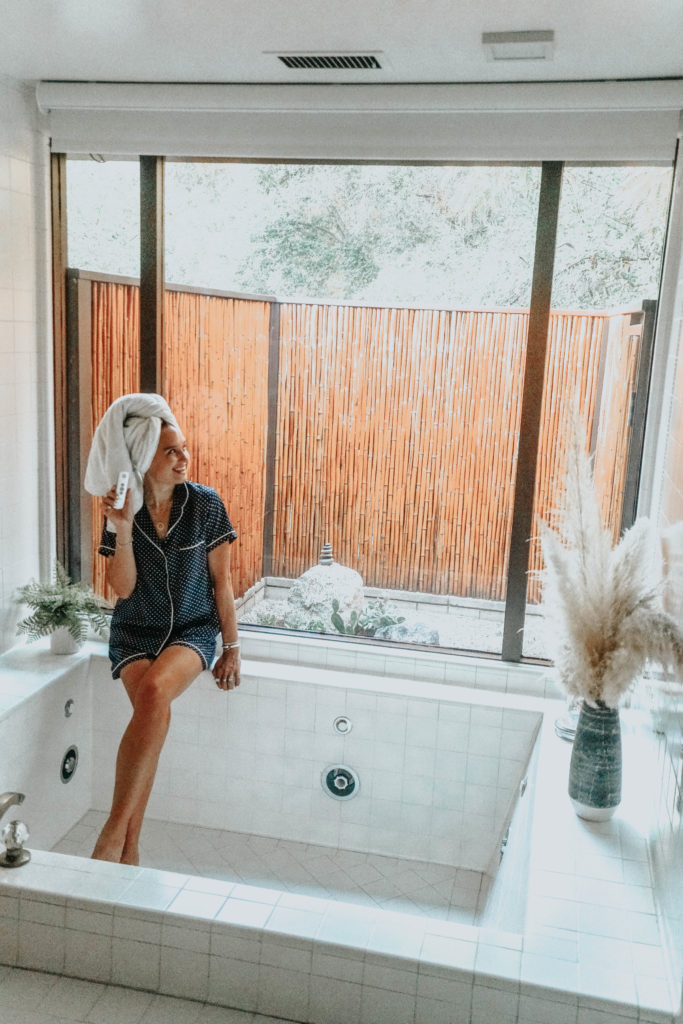
Window treatments are a tough design element to get right.  Especially when your design aesthetic is minimal and modern.  The key to minimal design is to reduce the busy appearance of lines as much as possible.  Therefore, I do not recommend mini-blinds, vertical blinds or roman shades.  To modernize our windows and maintain the modern look of our bedroom and master bathroom, we chose black-out shades.  However, these are not the old roller shades you grew up with.  We chose remote controlled motorized shades.

Benefits of motorized shades

1)  Access hard to reach windows.
2)  No ugly or dangerous hanging cords.
3)  Preset shade lowering settings enable all your shades to perfectly align throughout a room for a seamless look inside and outside.
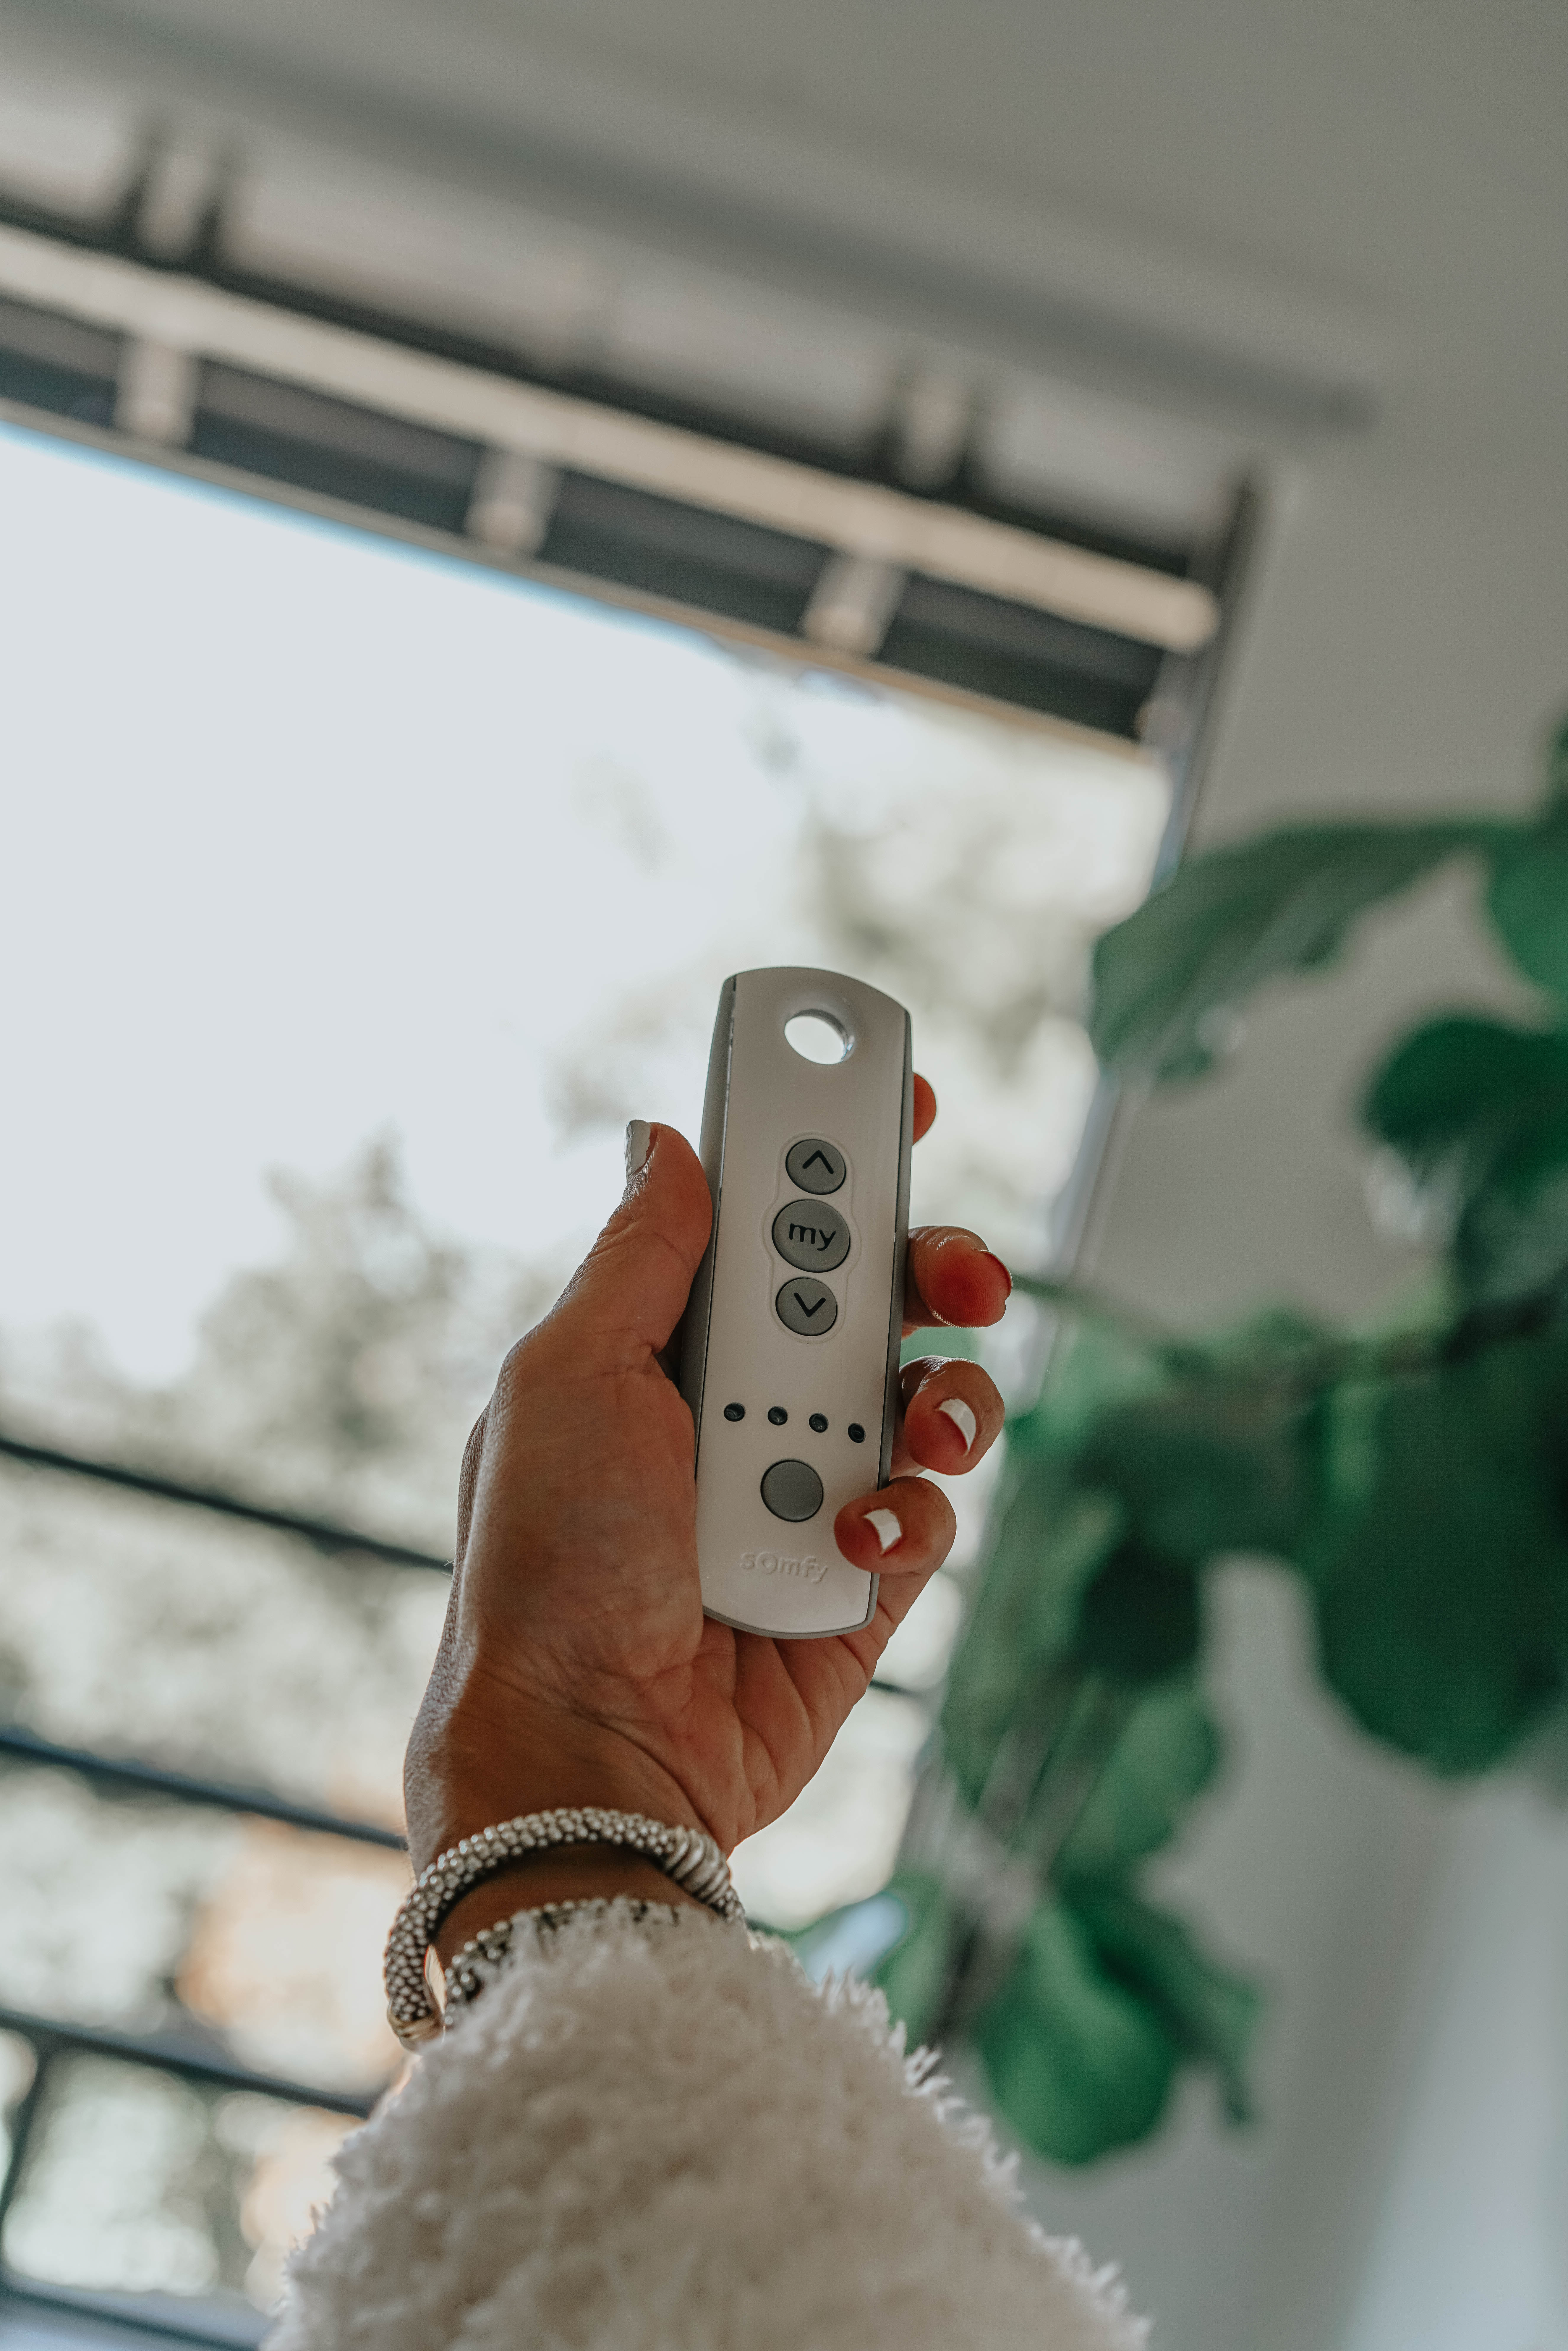
4)  When you wake up in the morning all just push a button for your favorite shade setting.  Great way to tuck yourself in at night or rise to the sunrise.
5)  The motor is quiet and comes with a 5 year warranty.
6)  The powered shades also can work with your phone, Alexa, Google Home or a sun sensor.
7)  The dependable motor within the e-Bopp shades are powered by Somfy motors.  Somfy is the world leader in automated control.

When ordering your shades, go to e-Bopp.  Study the type of shade you need, black out/light diffuser or solar shade.  You will also select the fabric and mounting colors.  You may order samples as well.  Depending on the type of window you have, you will then select an inside mount which installs the shade inside the existing window frame or an outside mount which will be installed on the wall or ceiling.  The measurement will be different, so make this decision before ordering.  Fortunately, the customer service at e-Bopp is personal and you can send them a picture and they will identify the exact measurements needed for the window, for you.  We really recommend reaching out to them before you finalize your order.  They always say measure twice!

Our experience with e-Bopp was beyond helpful.  They answered our questions as needed and now that we have the shades installed we can sleep much better!  They are made in the USA as well! Think of it as a great present for your home. See the below discount code for my readers.

XO

Shalice

e-BOPP is giving my followers a discount! Use code Shalicenoel for 10% off

Kitchen Reno 101

by Shalice Noel

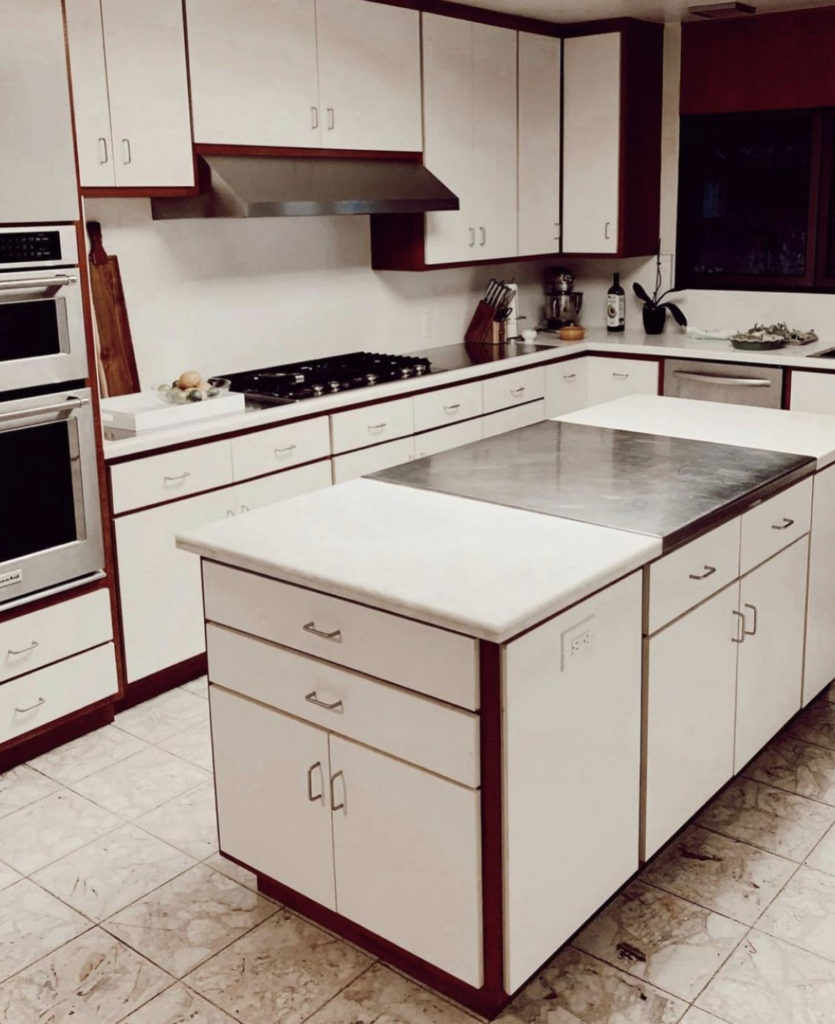
Make sure to check out our house tour on IGTV before you read this post.  It will show you the best before content.  When we purchased our new home we knew a kitchen renovation would be in our near future.  We held off renovating it for half a year to really get a feel for what was working and what didn’t work in the existing kitchen.  What we discovered was the kitchen had too many cabinets, it was dark and we really wanted seating at the large island.  The multi-colored finishes was an eyesore and oh…did I mention…never own white laminate countertops.  Those babies were stained within a month of us moving in.  No joke. The pomegranate stains never came out!

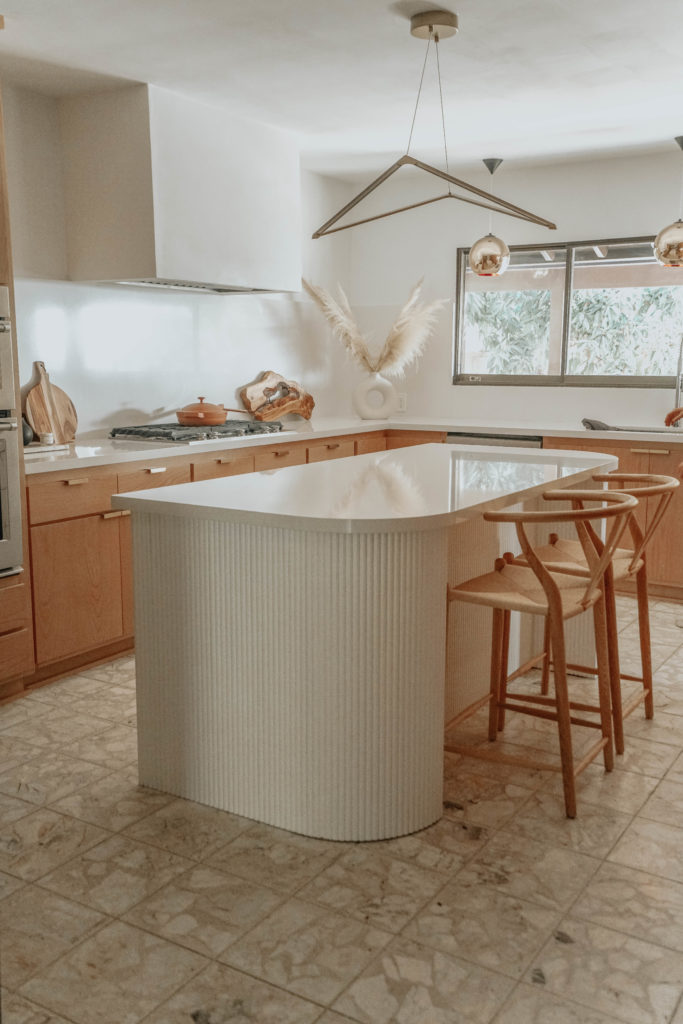
As we started the design process for the kitchen, we considered the modern aesthetic we typically like with some touches of drama.  We did lots of pinning on Pinterest for a design wish list.  However, our house has a distinct style and we wanted our new kitchen to reflect its unique style. We gave up some ideas for the sake of a holistic home design.  We were inspired by simple, bright Danish style kitchens with neutral colors to harmonize our existing terrazzo tile flooring and modern Asian home aesthetic. Mission, accomplished.

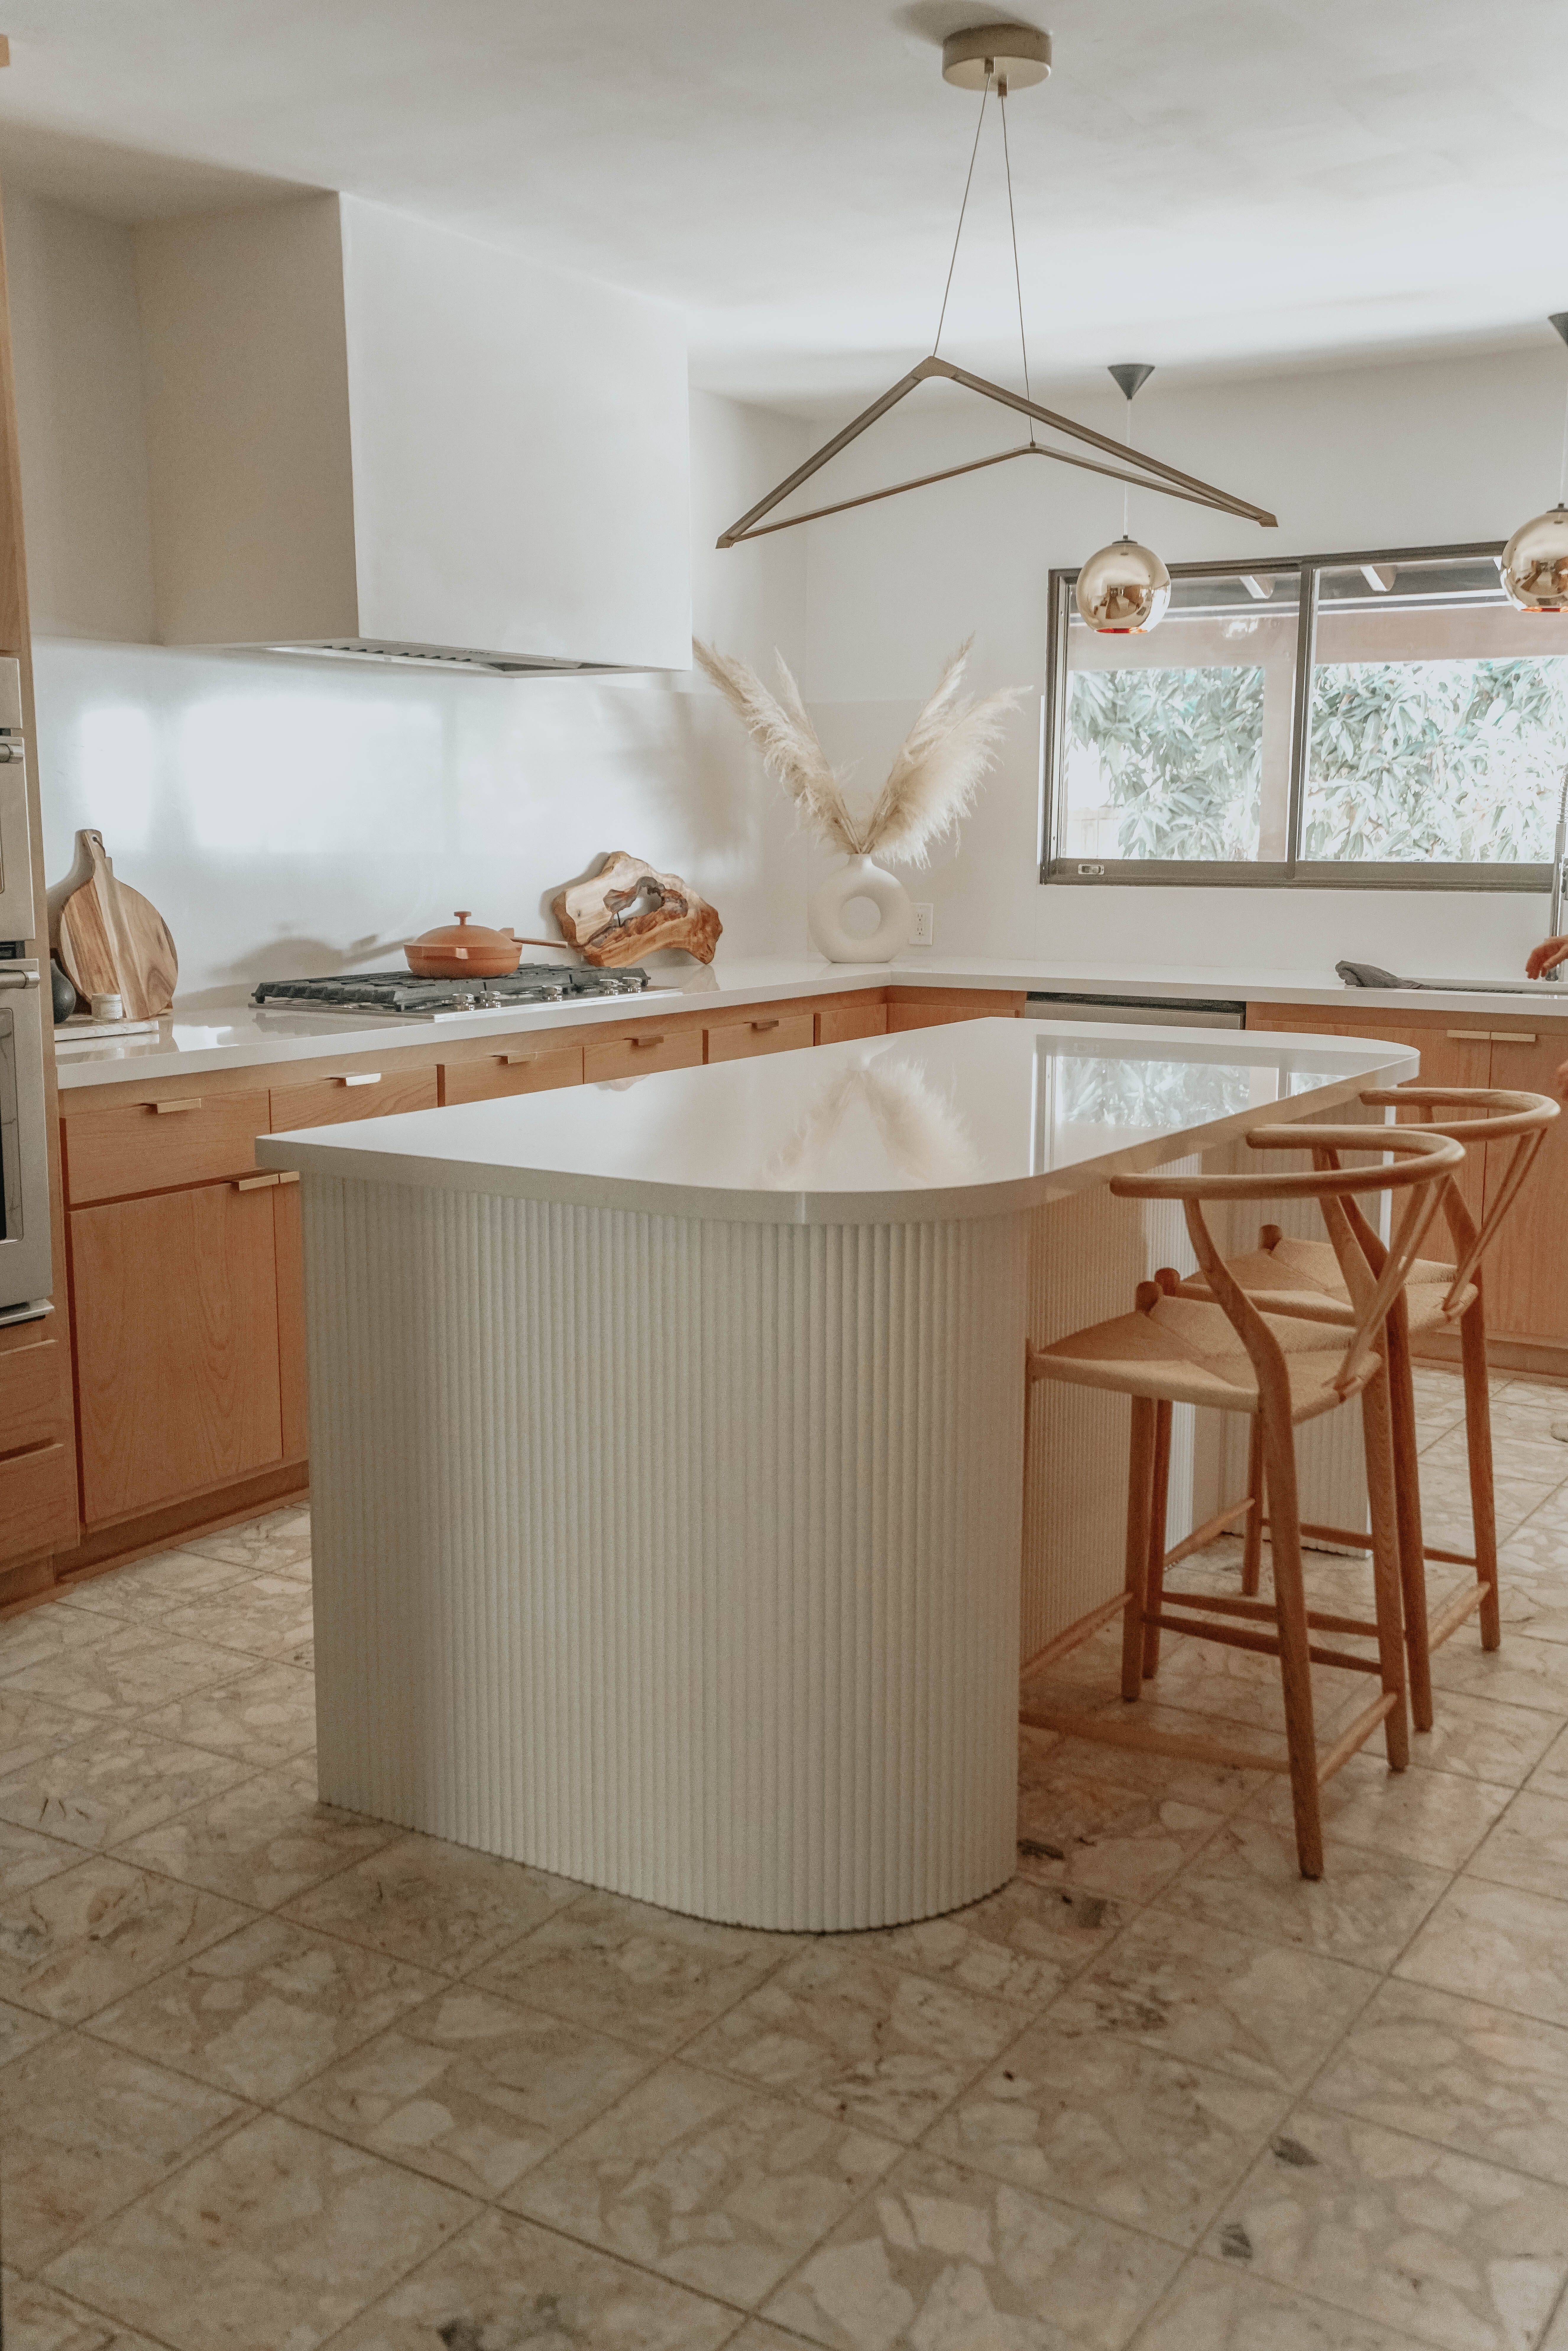
We liked the layout of our kitchen and the original custom cabinets were in great condition, so we chose to resurface the cabinets with new soft close doors.  We chose Birch wood slab doors and Cambria “Whitehall” quartz counters to keep the kitchen bright and neutral.  A nice thing about our renovation is that we were able to keep our appliances.  That was a huge cost saver.

Reid and I are 100% responsible for the design of our kitchen.  We used a sketch-up model to visualize our material choices but most of all used the simple modeling tool to design our custom island.  My favorite part of the kitchen is the new island.  We see a curve trend coming to kitchen designs.   Do you remember roll top desk?  Well here is our island secret.  The sides of the island are cladded in tambour panels.  This is the same material used to make the old roll top desk our Grandma’s owned and loved.  We love the idea of using something for other than what it is intended for.  We can’t wait to sit at the island, drink coffee and work on our laptops.

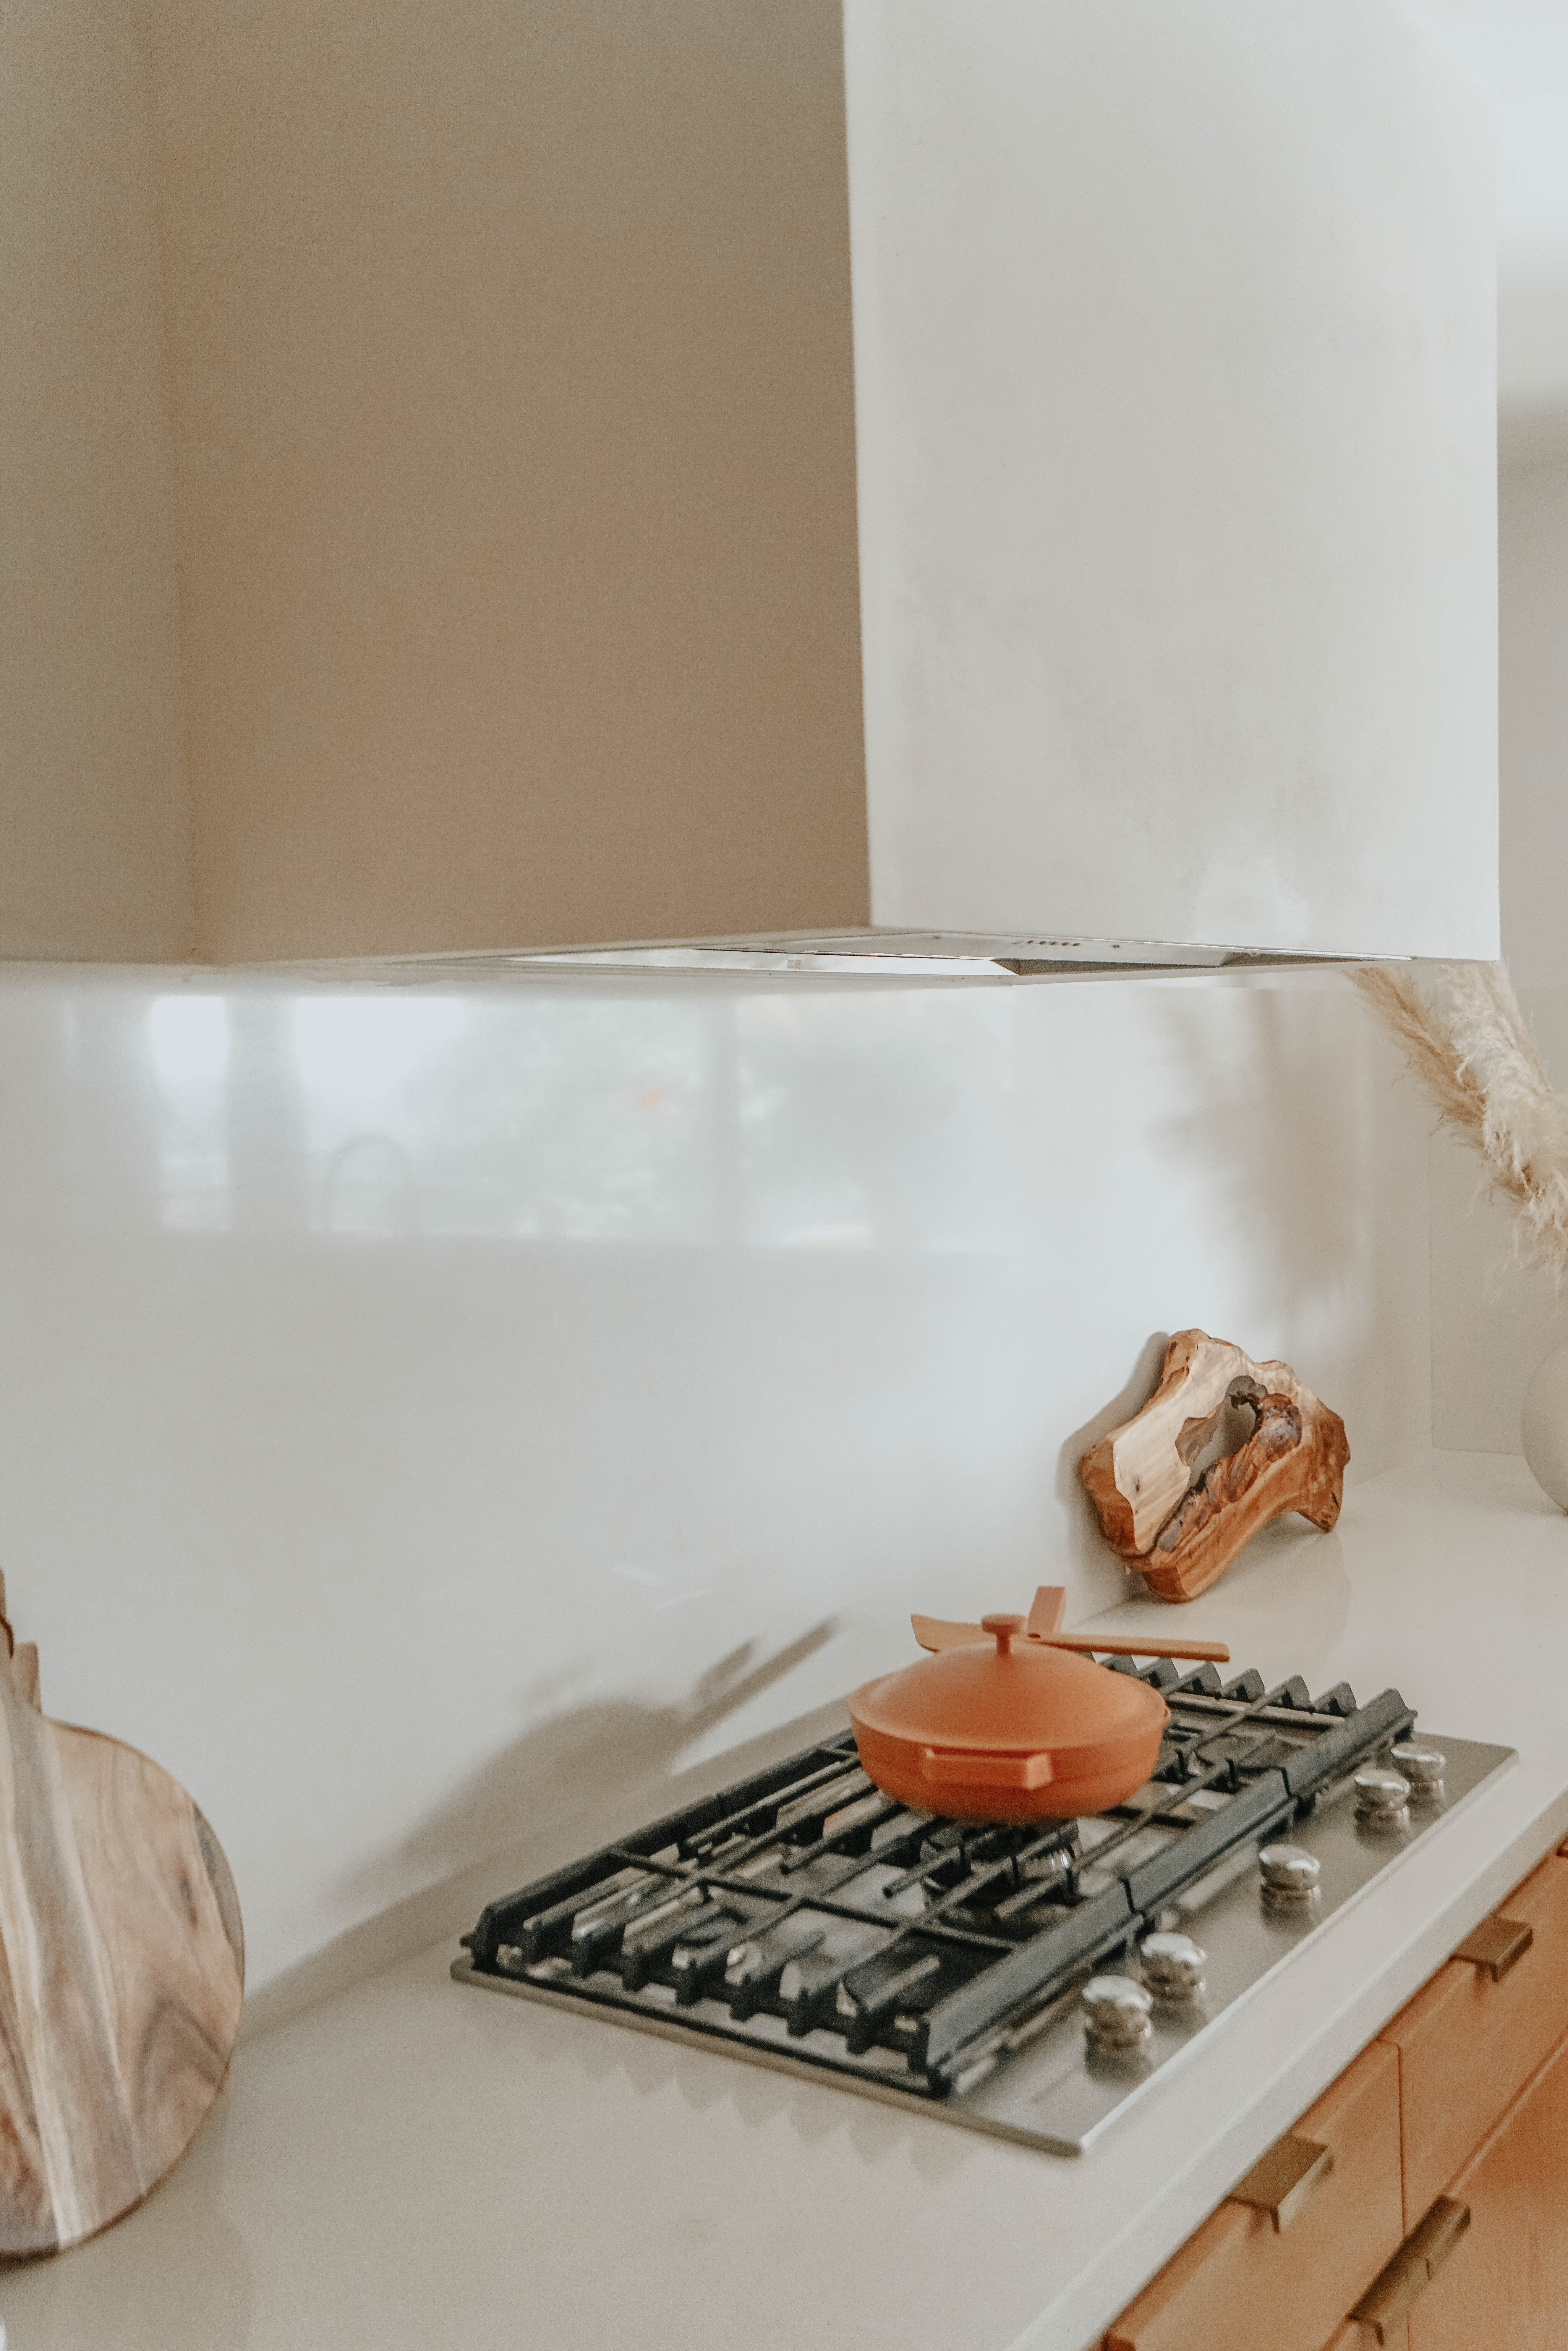
The design of the backsplash was a tough decision.  There are so many options and can easily go the wrong direction.  We debated using tile, but the grout lines bothered us.  We thought about German shmear stone veneer, but thought it would be impractical to clean.  We considered Calcutta marble, but thought the veins would compete with the terrazzo floors.  So in the end, we chose the simple white route.  We continued our countertops up 30” for our backsplash to align with the bottom of the hood.  We also chose to go simple with the drywall hood.  We used an internal hood that is already enclosed.  Therefore the drywall surround is just a shell.  It took Reid about 3-4 days to frame and drywall.  We are really happy with how it turned out.  Next step is a floating shelf flanking each side of the hood.

For lighting, we wanted gold accents.  Our house already has a lot of geometric shapes, so we looked for lighting shaped with strong geometry.  Enter light above the island.  We liked the skinny geometry of the LED lights with the strong geometry and the fact that you can see through it.  The pendant provides a good amount of light as well.  We then added three identical Tom Dixon Copper Round Pendants.  They hang perfectly over the sink and in front of window.  We chose gold accent colors because we love how it pairs with the birch wood cabinets.

Let us know your kitchen questions.  I’ve sourced all I can think of below.  Please reach out with questions or just hire Reid to help!

XO SN

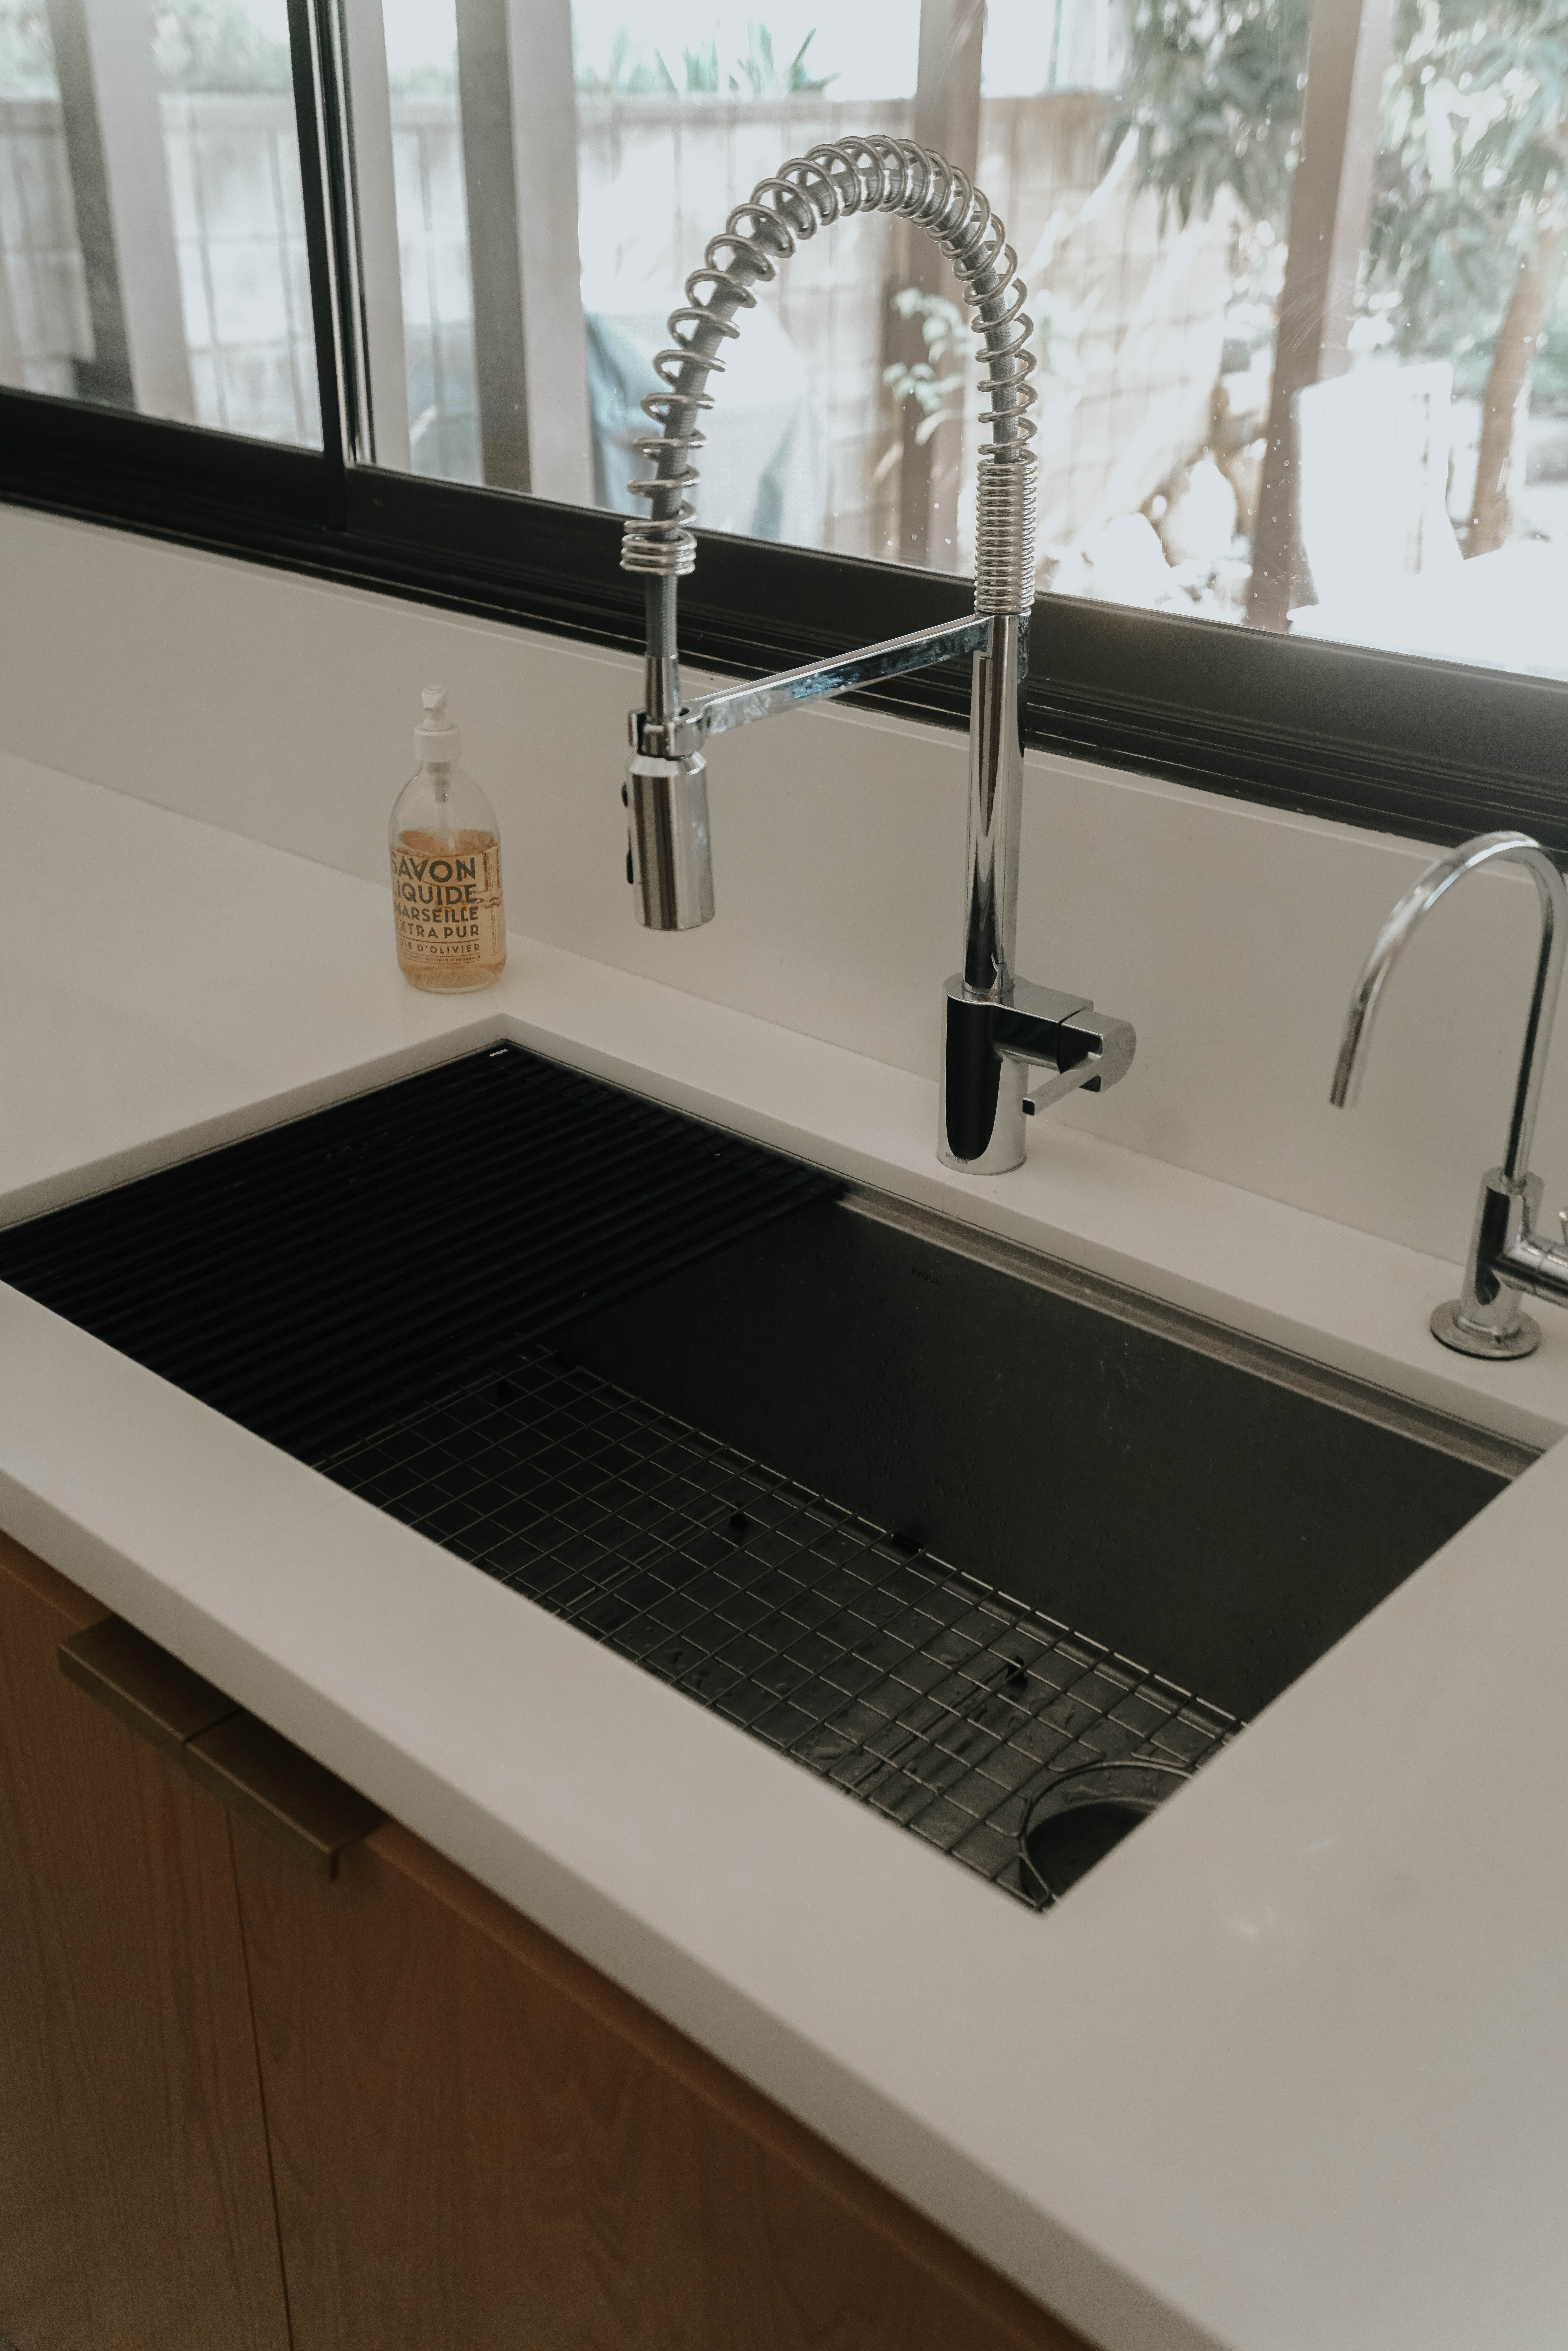
Wood tambour // Chandelier above the island // Countertop: Cambria “whitehall” // Cabinet refacing // Lights above the sink // Sink (which I love!) //Faucet by Moen // Counter top Chairs // Hardware // Hood insert

Today is Amazon Prime Day! I rounded up some of my favorites for home and fashion. Also, check out my Amazon influencer page! On it I include my home, food and fashion favorites that I buy on repeat.

1.These bean bags are so soft and comfy.

2. Our Vitamix is on sale! 12% off and I use it DAILY. It has almost 3,000 reviews!! I’m a huge fan, I use it for celery juice.

3. Gorgeous cutting board!

4. This espresso machine is $100 off!

Fashion

From $35 to $24. this long cardi,

Turtleneck in apricot looks camel and is $16.99! Almost 1400 ratings!

This cute stripe sweater is perfect for fall and 2300 ratings.

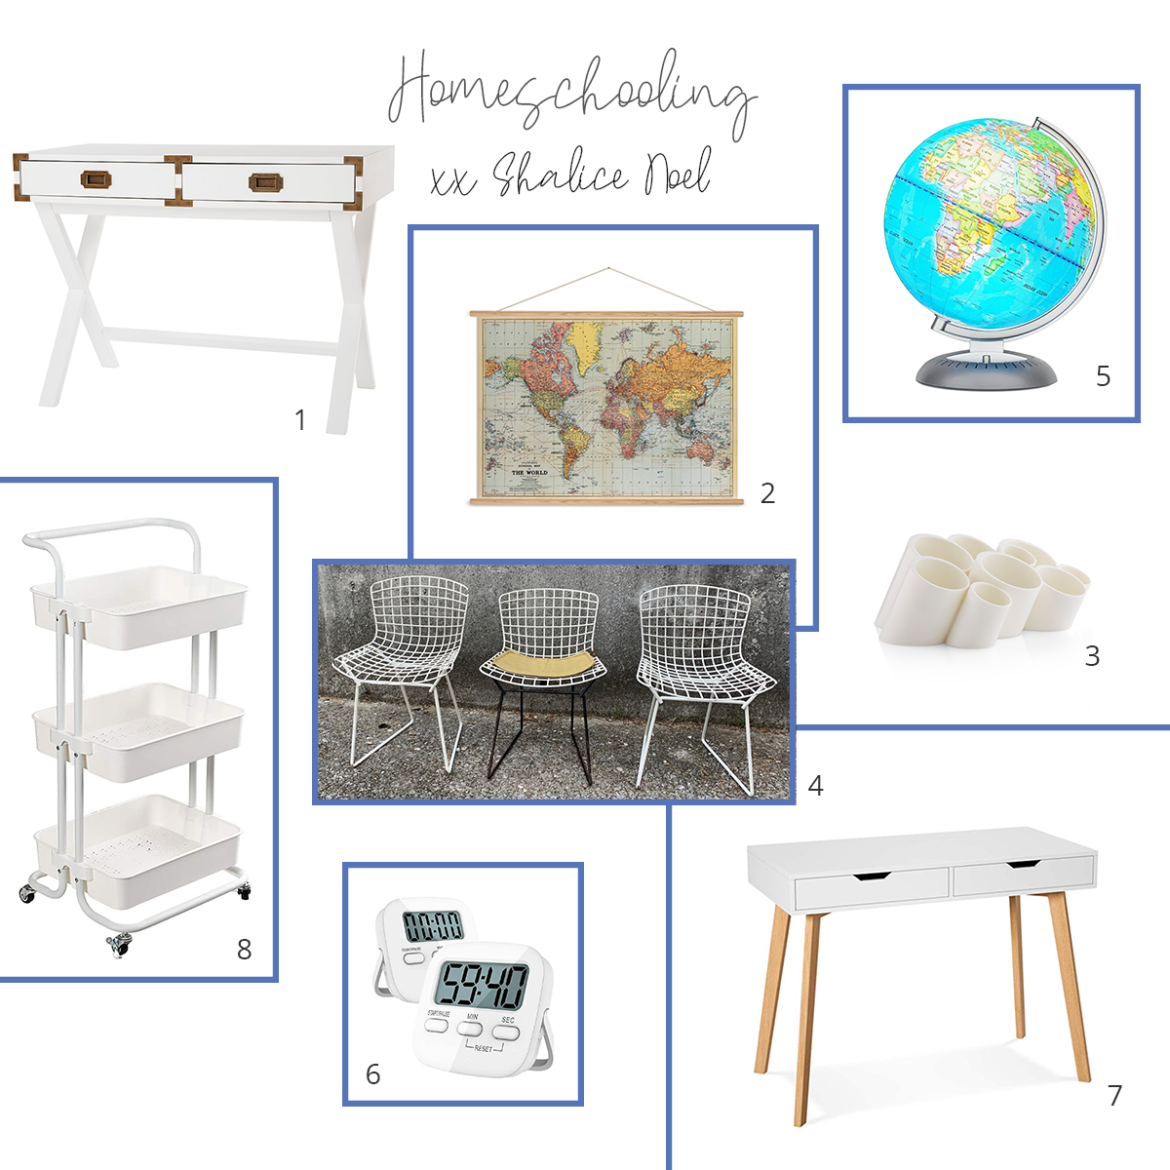
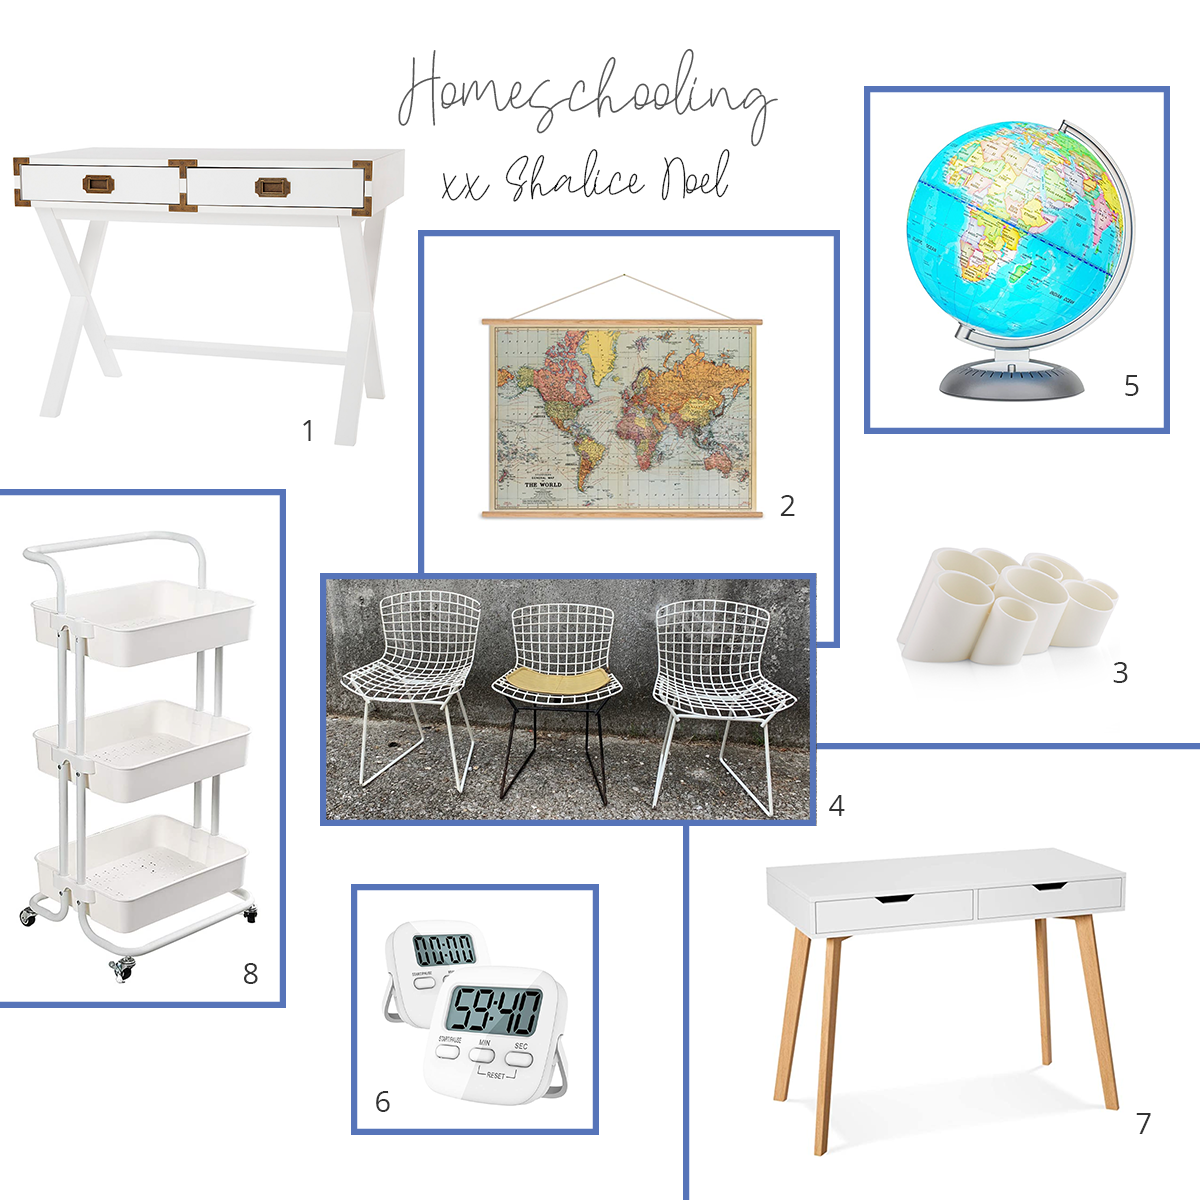
8 Homeschooling Must Haves

by Shalice Noel

1. Cute desk under $400

2. MAP

3. Desk organizer

4. Kids chairs

5. Globe

6. Timer

7. Desk under $150

8. Basket on wheels

To say this year has been a whirlwind of change would be an understatement. This year we are homeschooling and it isn’t easy but I’m thankful everyone is in one place. Many of you requested I round up homeschool must haves such as desks here on the blog. Viola! Click the image below to shop!

Other popular posts:

5 lululemon favorites

I interviewed my sister who moved to England with her family of 7!

My friend’s successful embryo adoption

Killer broccoli salad

My diet secret: celery juice

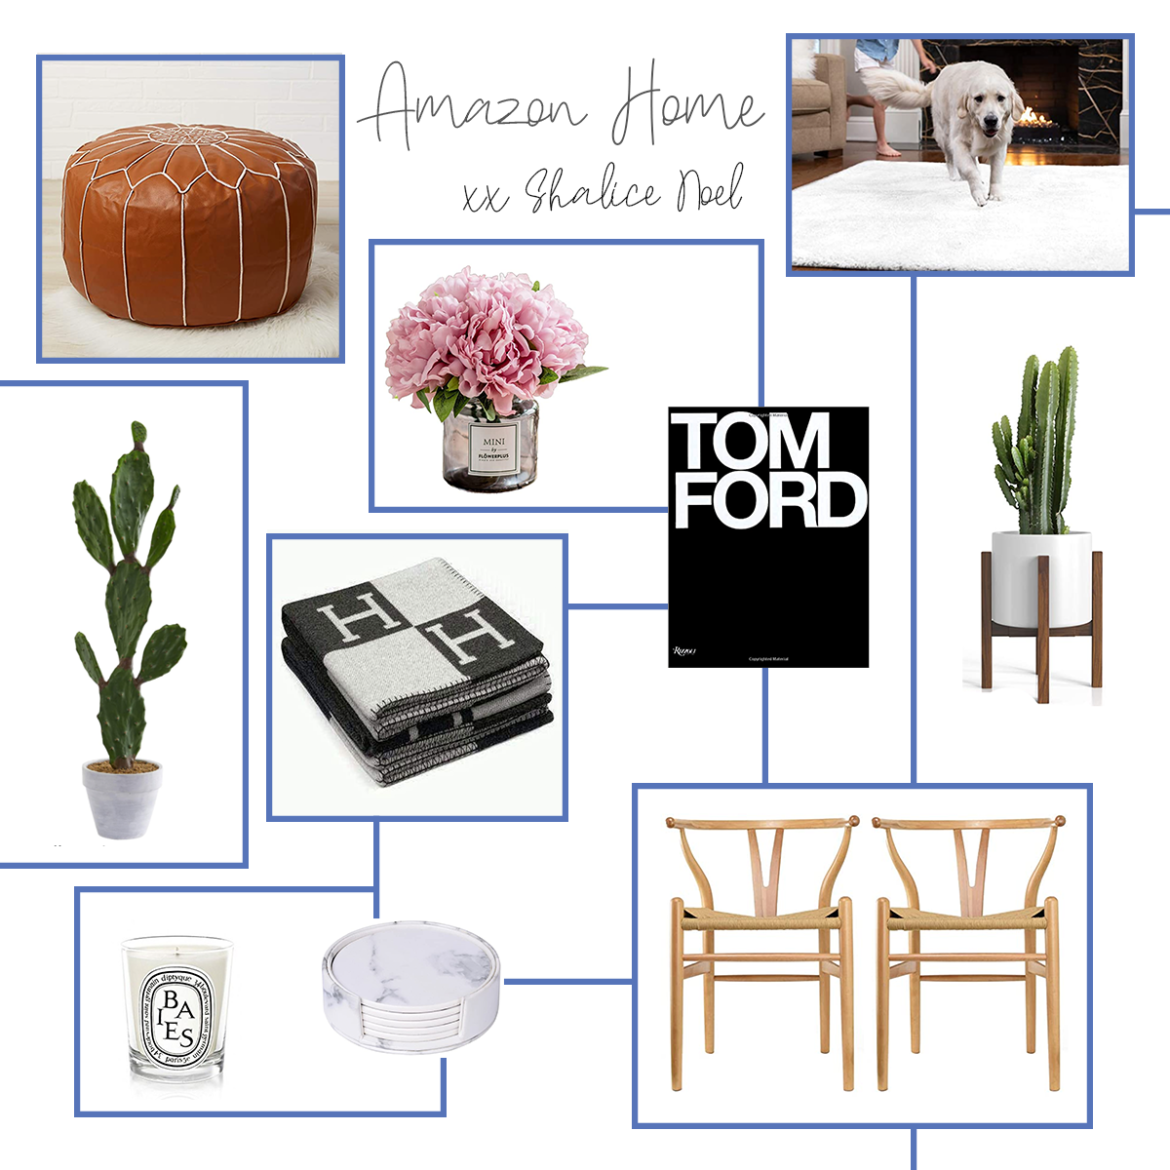
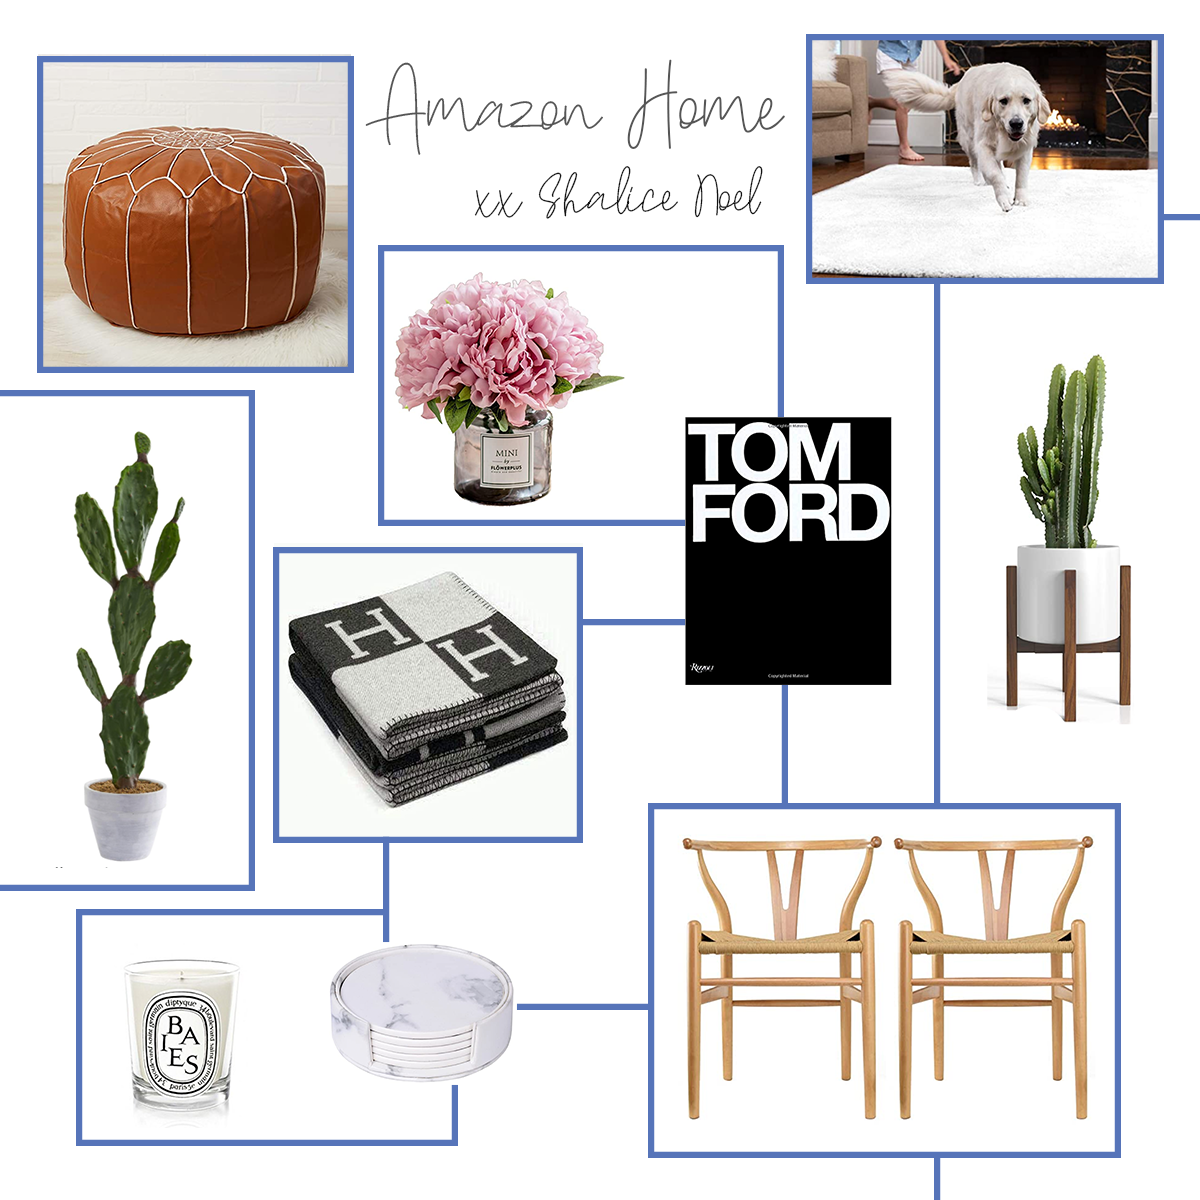
My Amazon Home picks

by Shalice Noel

Pouf /and this knit pouf is a bestseller! / Shag rug // Peonies // Tom Ford Book // Planter // Faux cactus // H blanket // Candle // Marble coasters // Wishbone chairs

So many good home finds at Amazon, from poufs for the girl’s room, to a shag rug. I’m also using these baskets to organize.

Which is your favorite?

How to German Shmear

by Shalice Noel

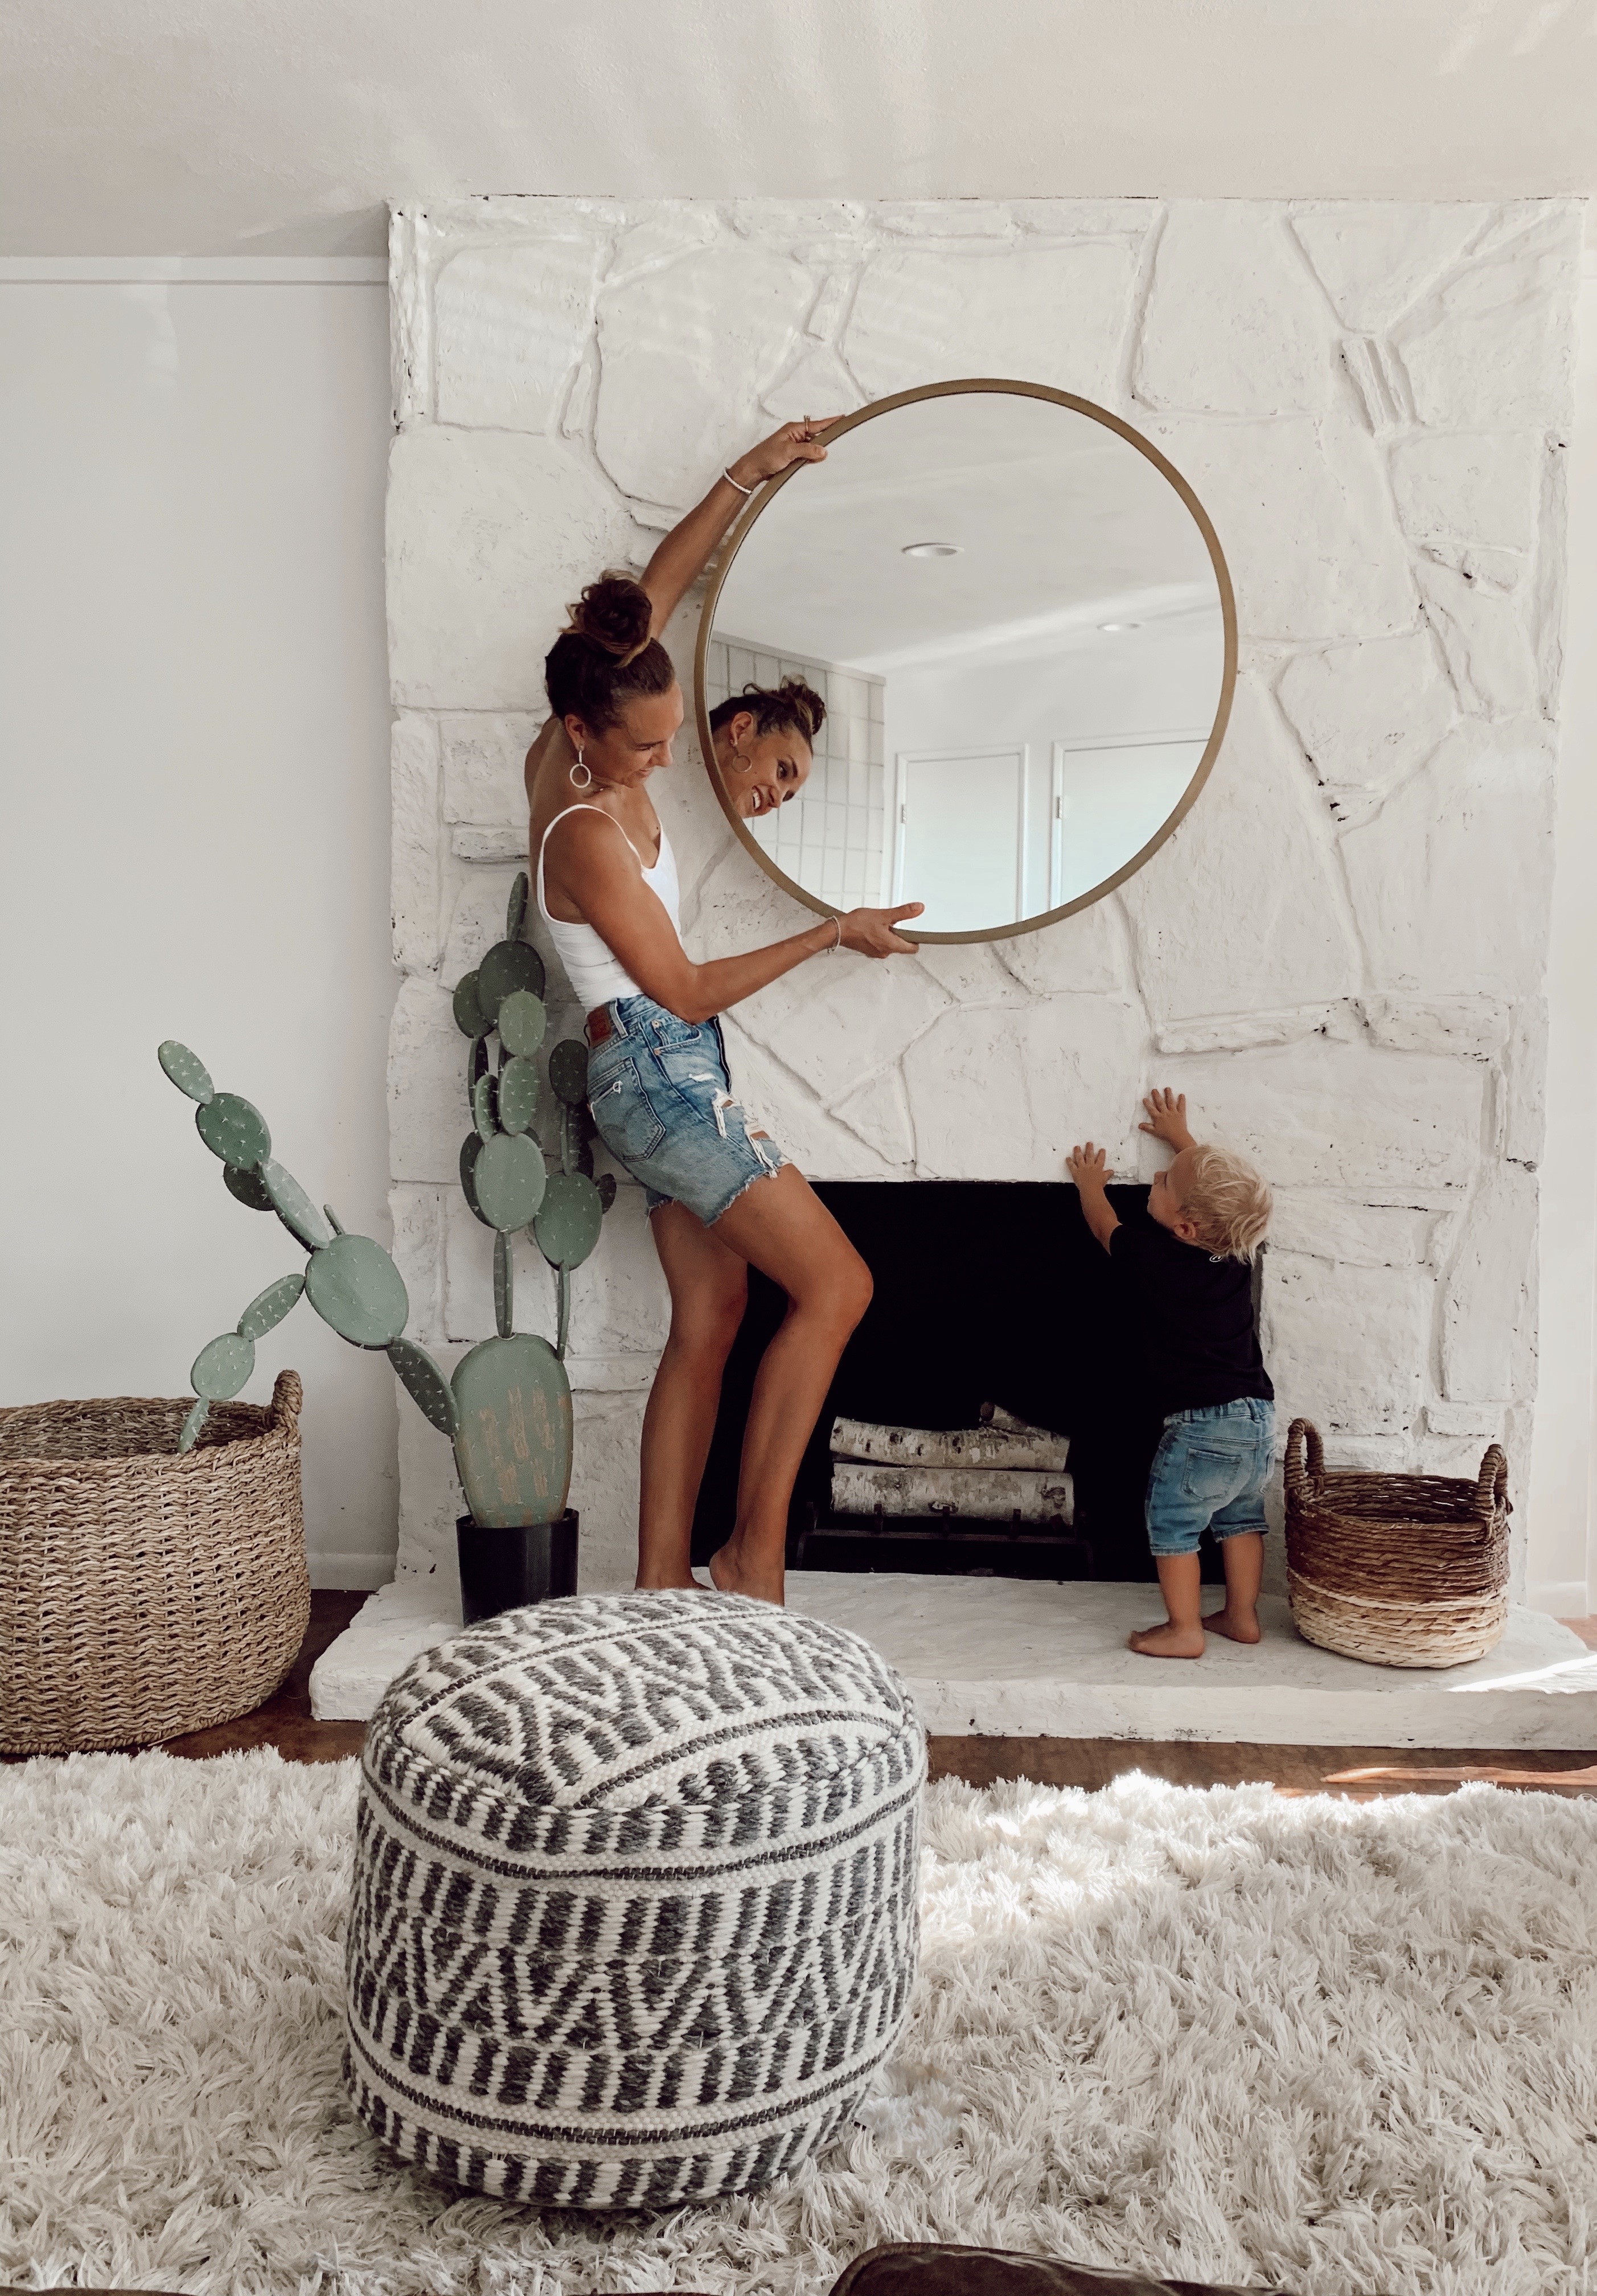
Large basket // Floor Pouf // Two-toned basket // Shag rug // Gold Mirror // Similar Cactus // Faux fiddle leaf fig

German Shmear

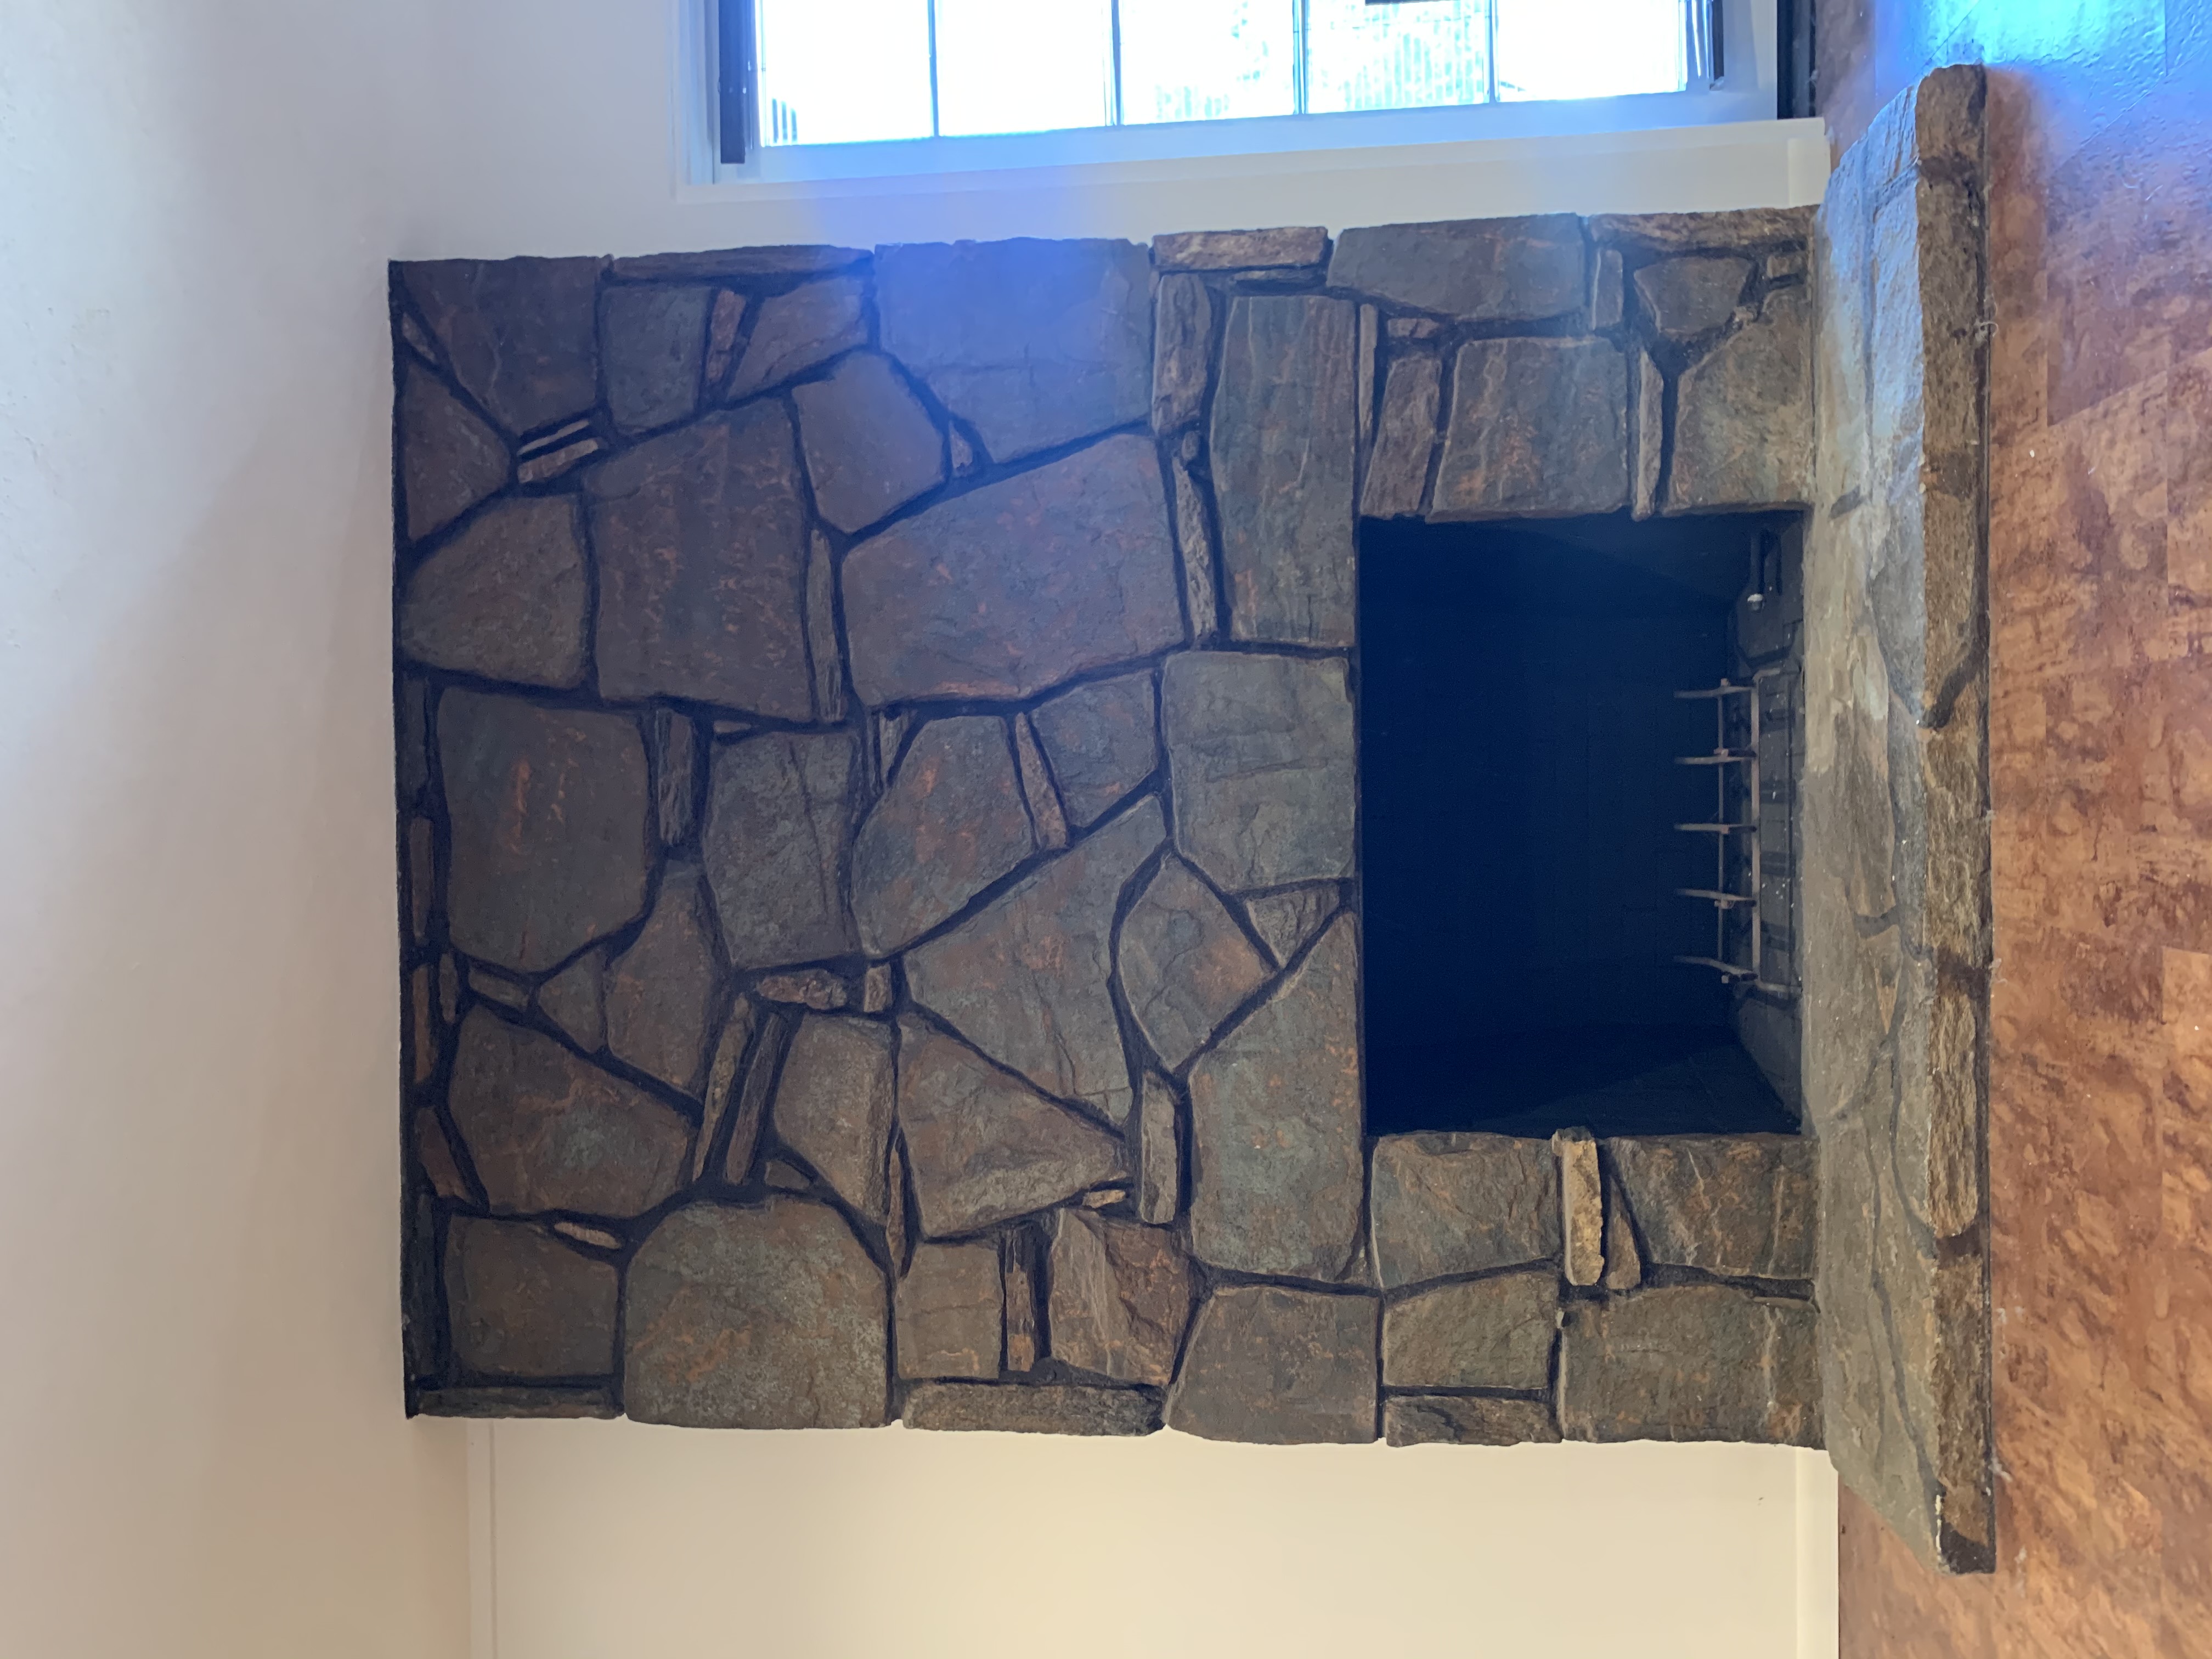
Our basement room has a beautiful view of the mountains, but the space needed some love.  First up, our plans were to refresh the dark and drab stone fireplace.  Reid was hesitant covering up the natural stone at first but after cleaning the surface we noticed the previous owners must have altered the stone somehow.  

So with that, we took the German Shmear plunge.  I’ll admit You Tube and Pinterest helped A LOT in convincing us to take the dive. Yes, everyone is doing this right now and I still worry 20 years from now we will look back and say, ”why did we do this”? 

Without risk, you will have no reward and frankly, design is a risk.  So take the risk, my friends.

Here is a quick shopping list and step by step German Shmear process.

Shopping List

o   Mortar (Tile Grout) – We used white.  (White is typical for German Shmear)

o   Mixing Bucket

o   Mixing Stick or Drill Bit

o   Big Sponges

o   Cheap Paint Brushes (They will get destroyed)

o   Rubber Gloves (This is very messy)

o   Painters Tape

o   Trowel and or Spackle

o Putty knife

o   Ziploc Bags

Process

1.      Wash surface with water, bristle brush and sponge.

2.      Protect surrounding area with painter’s tape.  We used flatten cardboard boxes to lay around the hearth for protect.

3.      Mix mortar per package direction.  Mix to a consistency of thick frosting.

4.      Use brush to spread mortar onto surface.  Brushes work well for smooth surfaces.  But honestly your hands work the best.  So don’t be afraid to just dig in and shmear.  We put Ziploc bags on our hands and literally grabbed the mortar and slapped it onto surface.  Fill grout marks so that the mortar is flush with the stone/brick surface.  A trowel and spackle tool can also be used.  Beware, this is messy.  But we are washable.  (The mortar also is water soluble and does clean up with a wet rag pretty easily, just in case)

5.      Let mortar dry per package directions

6.      Just before mortar is complete dry.  Take wet sponge and brush entire surface till smooth, to your liking.  This is where the artist comes out.  Some like it rough and some like it smoother.  Go ahead and express yourself.  Exactly like styling an outfit.

7.      Remove the protective barriers and Viola!  A masterpiece.

Great job!  You are now a pro!

Tag me in your DIY photos.  I would love to see how your spaces turn out.

Burpee Gardening 101

Everybody has that other thing, you know, that thing that you totally could have done but didn’t end up doing. Mine is gardening, and in many ways it’s my dream job. In fact, my first job was at a flower nursery and I have always loved plants and planting thanks to many afternoons gardening with my dad. I always find it refreshing and therapeutic to be around and in God’s creation. 

I once thought that I needed acres and acres of land to grow vegetables. But that is clearly not the case. If New Yorkers can grow their veggies on rooftops, I was sure I could manage a decent garden in sunny California. With a few good pots, rich organic soil, some sun, and our garden was started.

One thing I really wanted as I put together our garden were solid, healthy, veggie and herb plants. It didn’t take long to find Burpee Plants, a collection of the leading garden vegetables, herbs and flowers available at your favorite local garden retailer. They offer a huge variety of options, including plants for small spaces, foodies, and even organic. As you know, healthy plants grow healthy vegetables.

What we planted

“Sriracha Hot Pepper” with dark green fruit

“Basket of fire” hot pepper

Sweet Thai Basil

Rutgers DMR Obsession Basil

Boost Tasti-Wee Small Fruited Tomato

Jalapeno Sweet Poppers Sweet pepper

Ristra Cayenne II Hot Pepper (um, yes, we like our peppers)

Sweet Thang Cabbage

Sweet Slaw Cabbage.

All of the above vegetables are from Burpee! Just yesterday, Atalie picked a hot pepper from our container garden. Oh, the excitement in the house! All of a sudden, 4 kids were fighting over who was going to eat it. I had to remind them, peppers are hot!

1 month later . . .

5 Reasons why you should plant a Burpee vegetable garden

1. Vegetables grown in your garden will often have more nutrients than those from the store that often need to be picked early.

2. It helps you eat more veggies! When you’re so involved in the growing of your food, you’ll definitely want to eat it. 

3. Gardening is easy and fun, not intimidating. It’s a relaxing, healthy activity that gets the entire family involved.

4. There is nothing quite like eating fresh, ripe veggies in your salsas and dinners. 

5. Did you know that gardening is actually proven to combat stress and anxiety? (I knew there was a reason I loved it so much!) 

If these aren’t reasons enough, here are two of my favorite things to make with our Burpee garden haul. 

Recipes: Tomato Salsa

3 cups chopped tomatoes

1/2 cup chopped green bell pepper

1 cup onion, diced

1/4 cup minced fresh cilantro

2 T fresh lime juice

1 fresh jalapeno pepper, chopped (including seeds)

1/2 teaspoon ground cumin

1/2 teaspoon kosher salt

1/2 teaspoon ground black pepper

Stir the tomatoes, green bell pepper, onion, cilantro, lime juice, jalapeno pepper, cumin, salt, and pepper in a bowl. Serve.

Spinach Basil Pesto

1 1/2 cups spinach leaves

3/4 cup basil leaves

1/2 cup toasted pine nuts

1/4 cup grated Parmesan cheese (more or less to taste)

4 cloves garlic, peeled and quartered

3/4 teaspoon kosher salt

1/2 teaspoon freshly ground black pepper

1 tablespoon fresh lemon juice

1/2 teaspoon lemon zest

1/2 cup extra virgin olive oil

Blend the spinach, basil, pine nuts, Parmesan cheese, garlic, salt, pepper, lemon juice, lemon zest, and 2 tablespoons olive oil in a food processor until nearly smooth, scraping the sides of the bowl with a spatula as necessary. Drizzle the remaining olive oil into the mixture while processing until smooth.


Thank you Burpee Plants for sponsoring this post! All opinions are my own. For more, follow the Burpee blog!